


It’s the season of making resolutions, and this year, I’m resolving to make my house feel more like my home. We moved in last spring, and I’ve got a to-do list a mile long and a wish list that’s even longer. This weekend, I decided to tackle the entryway. I’ve always wanted an entryway. So far, in every house or apartment we’ve ever lived in, we’ve had a front door that opens straight into the living room or the kitchen. With barely any room to even hang a coat, I’ve never had the luxury of designing a first impression for the guests who come to visit.
I wanted to make it count. I wanted it to be D R A M A T I C.
I decided to use blue painter’s tape to create a modern geometrical pattern on my entryway walls. Below I’ve everything you need to know about how to recreate this design for yourself on a wall in your own house.

 Materials:
- paint in the color of your choice
- contrasting paint color(s) for accents
- blue painter’s tape
- paint roller and pan
- paintbrush
- plastic drop cloth
Prepping:
Getting everything set up to paint is probably the most tasking part of this project. Start by taping off the corners, baseboard, and crown molding/ceiling around the wall that you want to paint. This will only work if you have some sort of color on your wall that you’d like to contrast with. My entryway walls were already a “greige” sort of color, so I decided to paint them white.
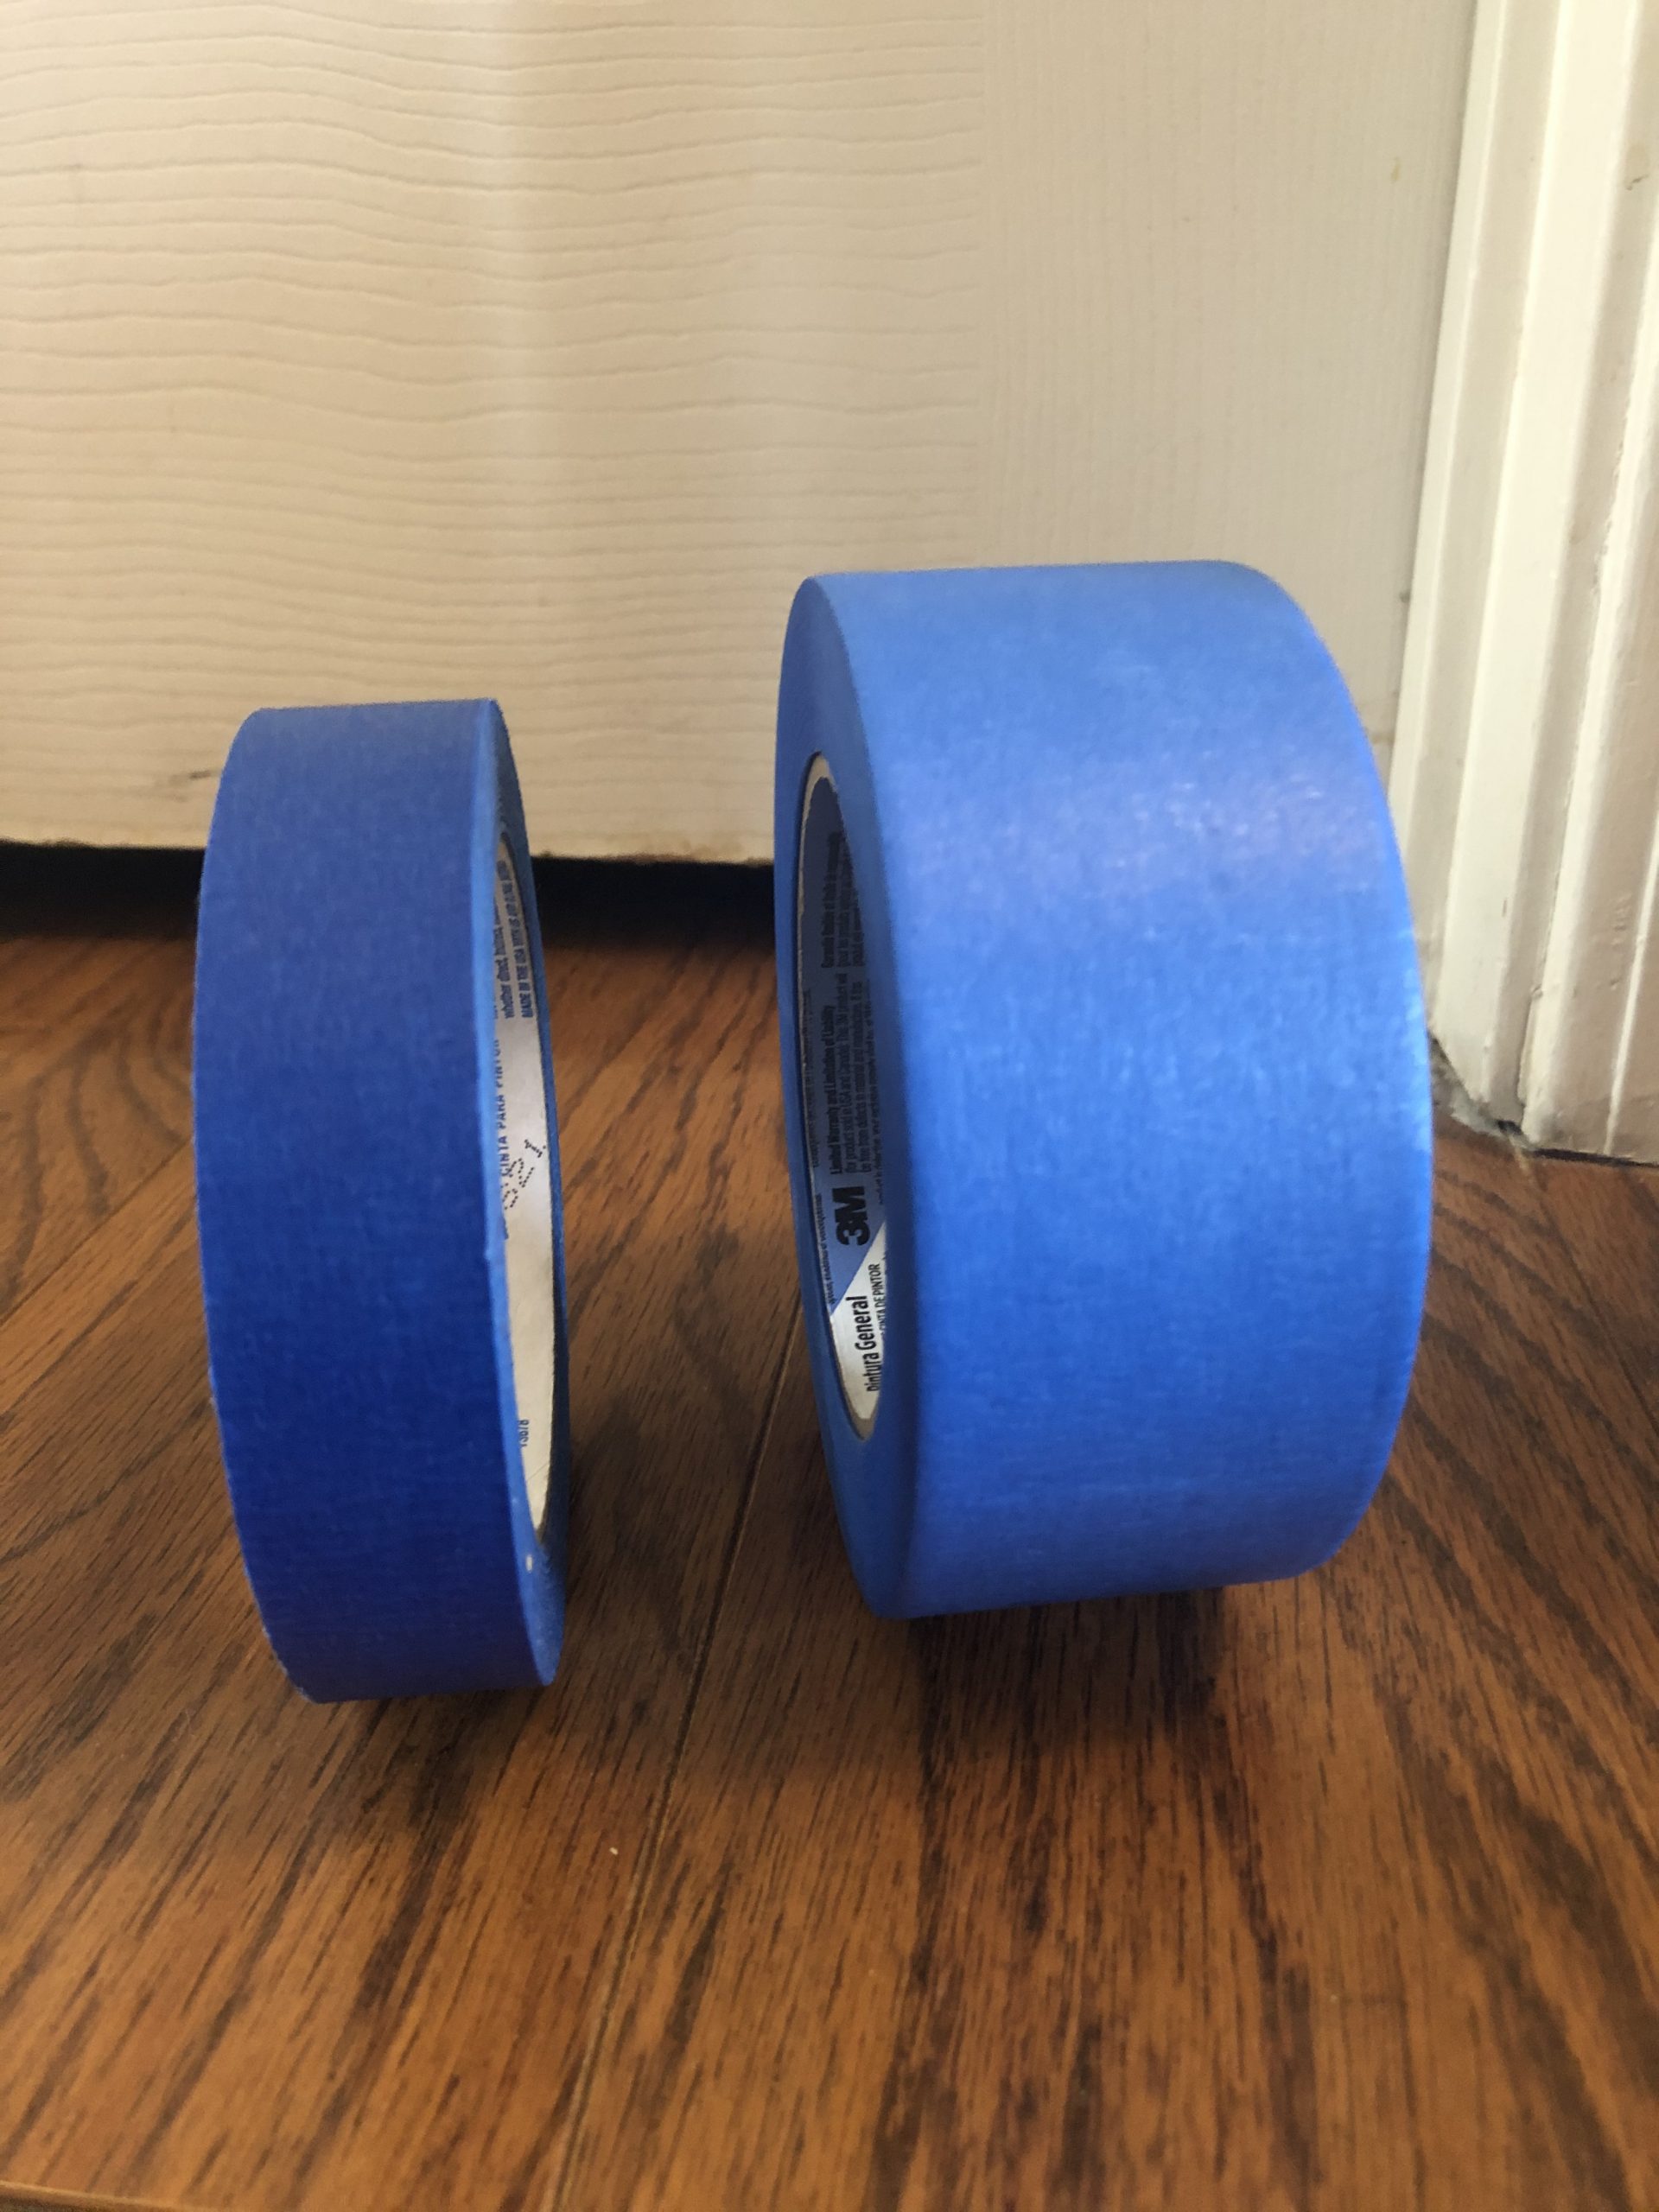
 Next, it’s time to create the actual pattern on the wall. There are so many tape pattern tutorials available on Pinterest (and now that I’ve gotten my feet wet, I’m reading to try more of them!), but I decided to go with a chaotic looking geometric pattern. Part of the allure of this pattern was knowing that I didn’t have to strive for perfect symmetrical lines. The key to creating this type of design is to keep it random. I also decided to use extra-wide painter’s tape to make my dividing line a bit bolder.
 You will probably have moments of doubt while you’re still taping. The perfectionist in me kept worrying that I wasn’t making my pattern random enough, but fortunately, blue painter’s tape can be easily peeled and reapplied if you have any second thoughts during the process.
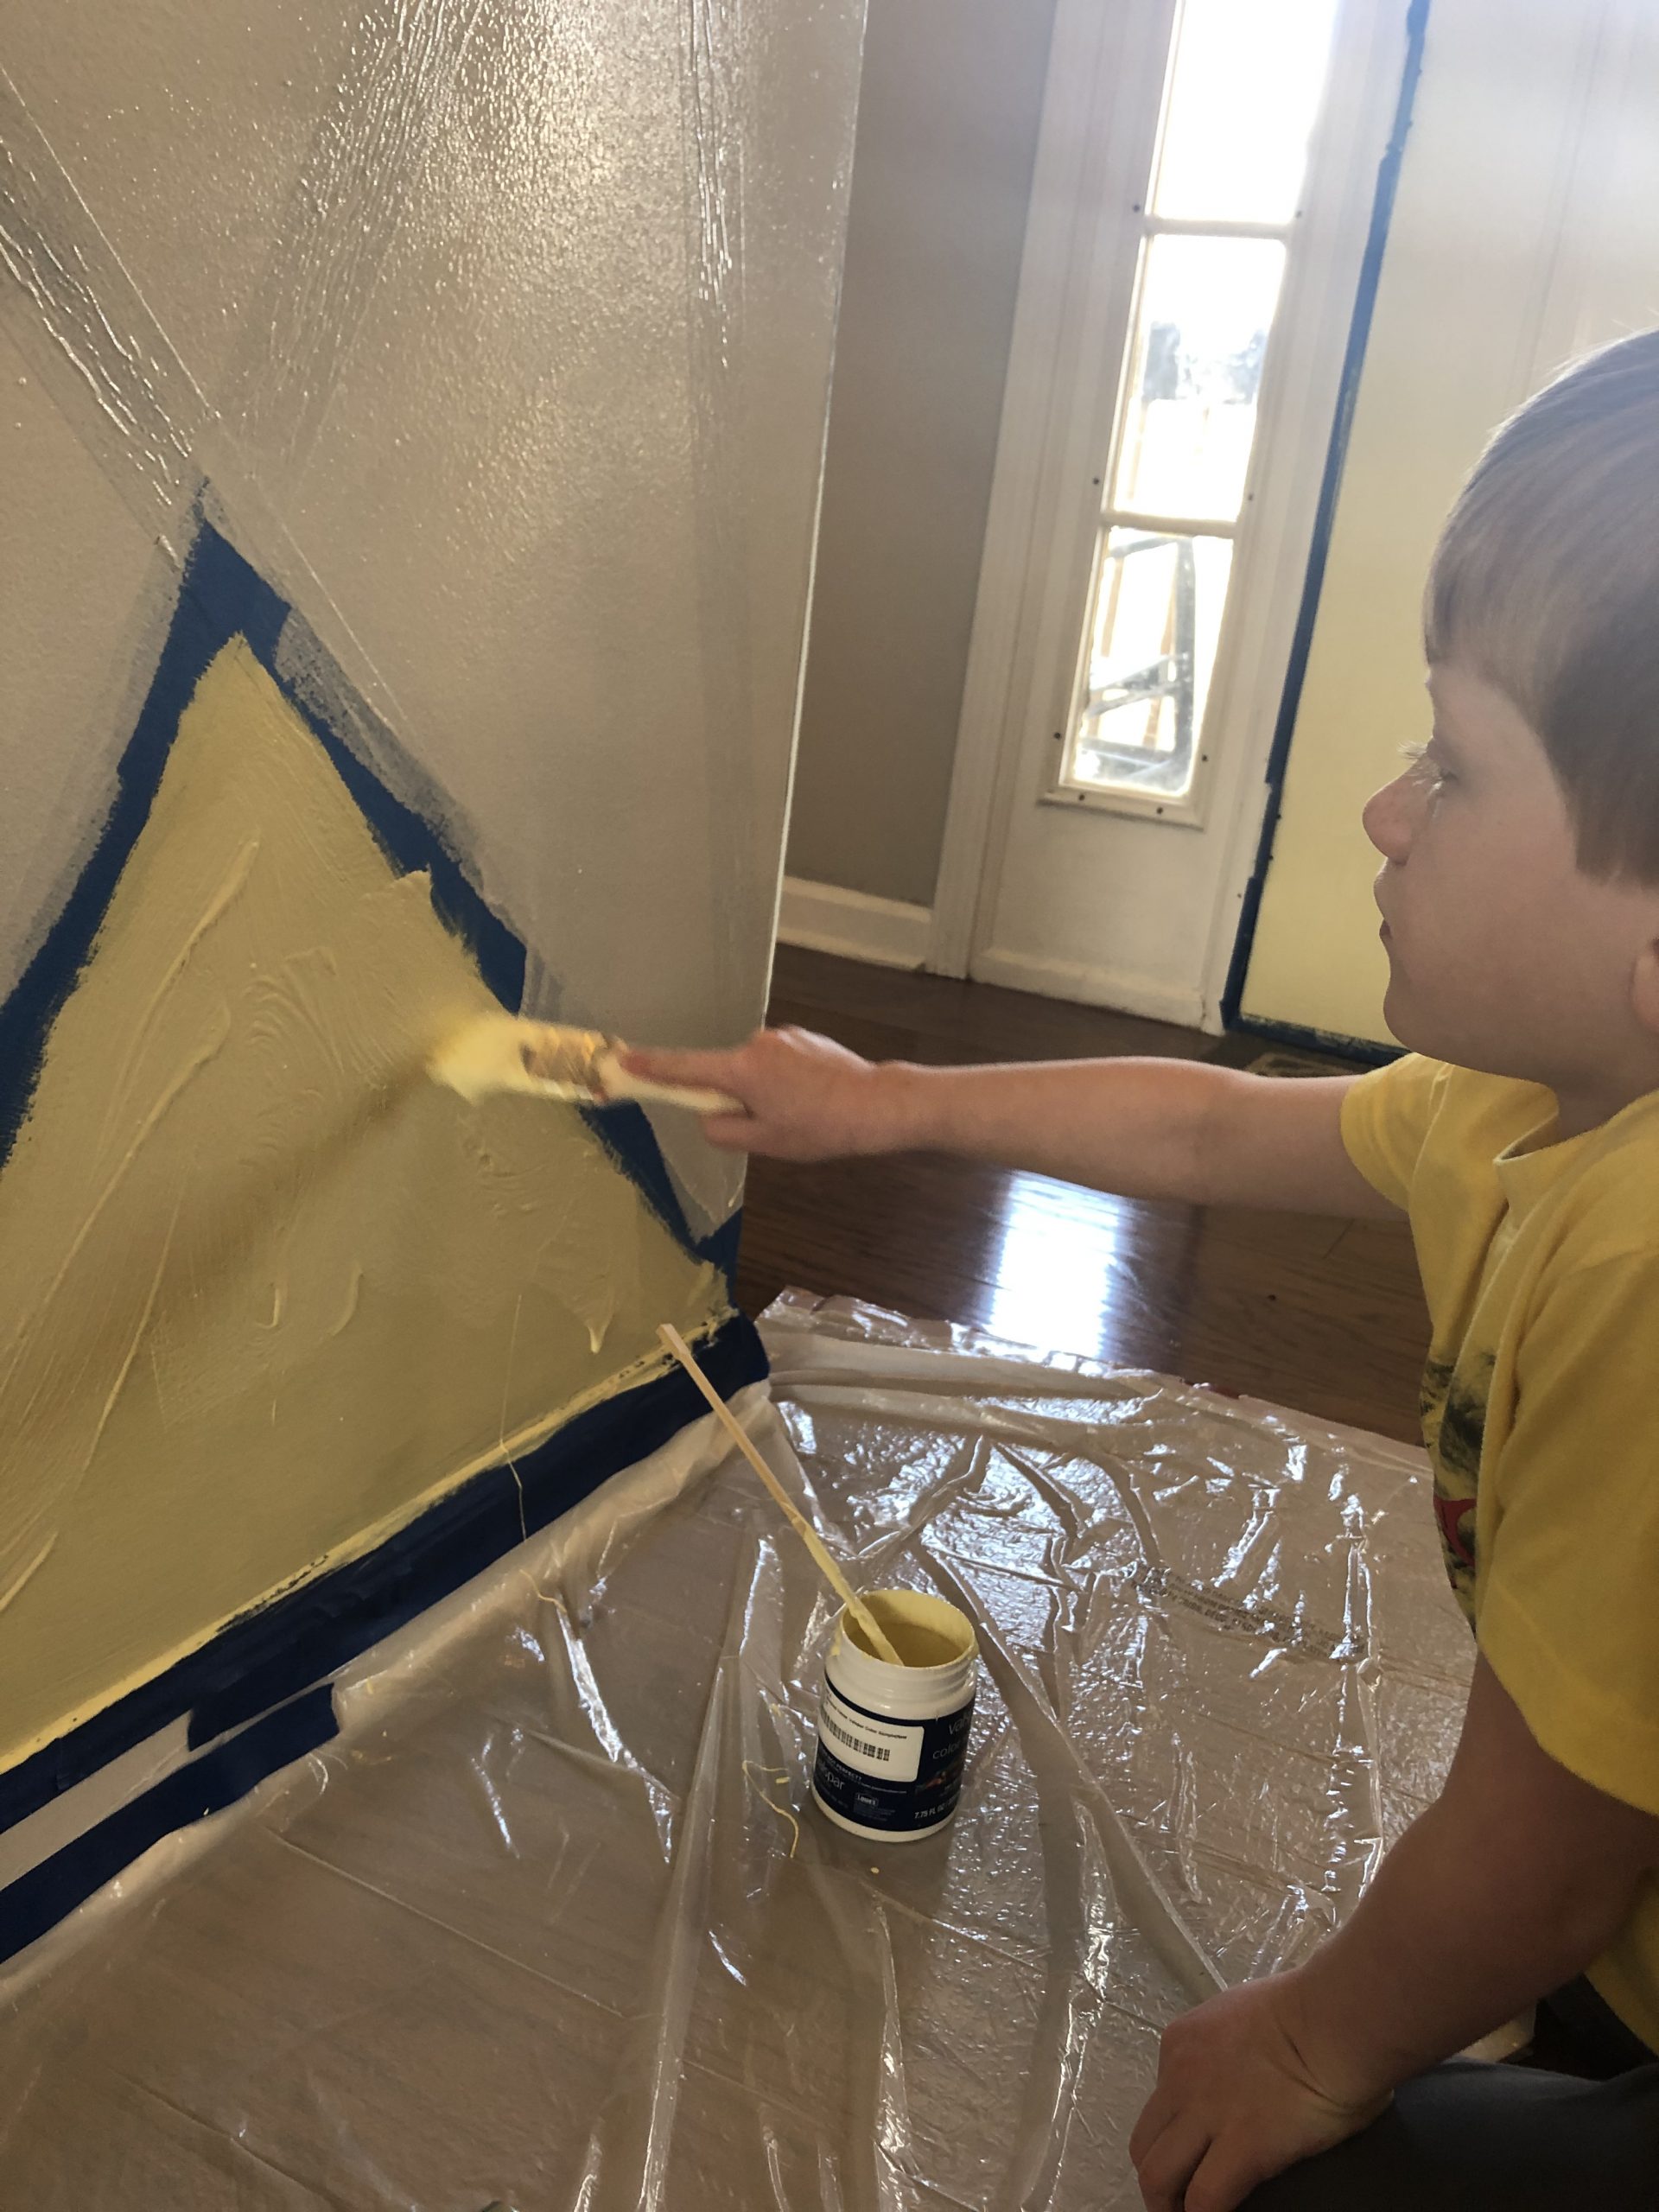
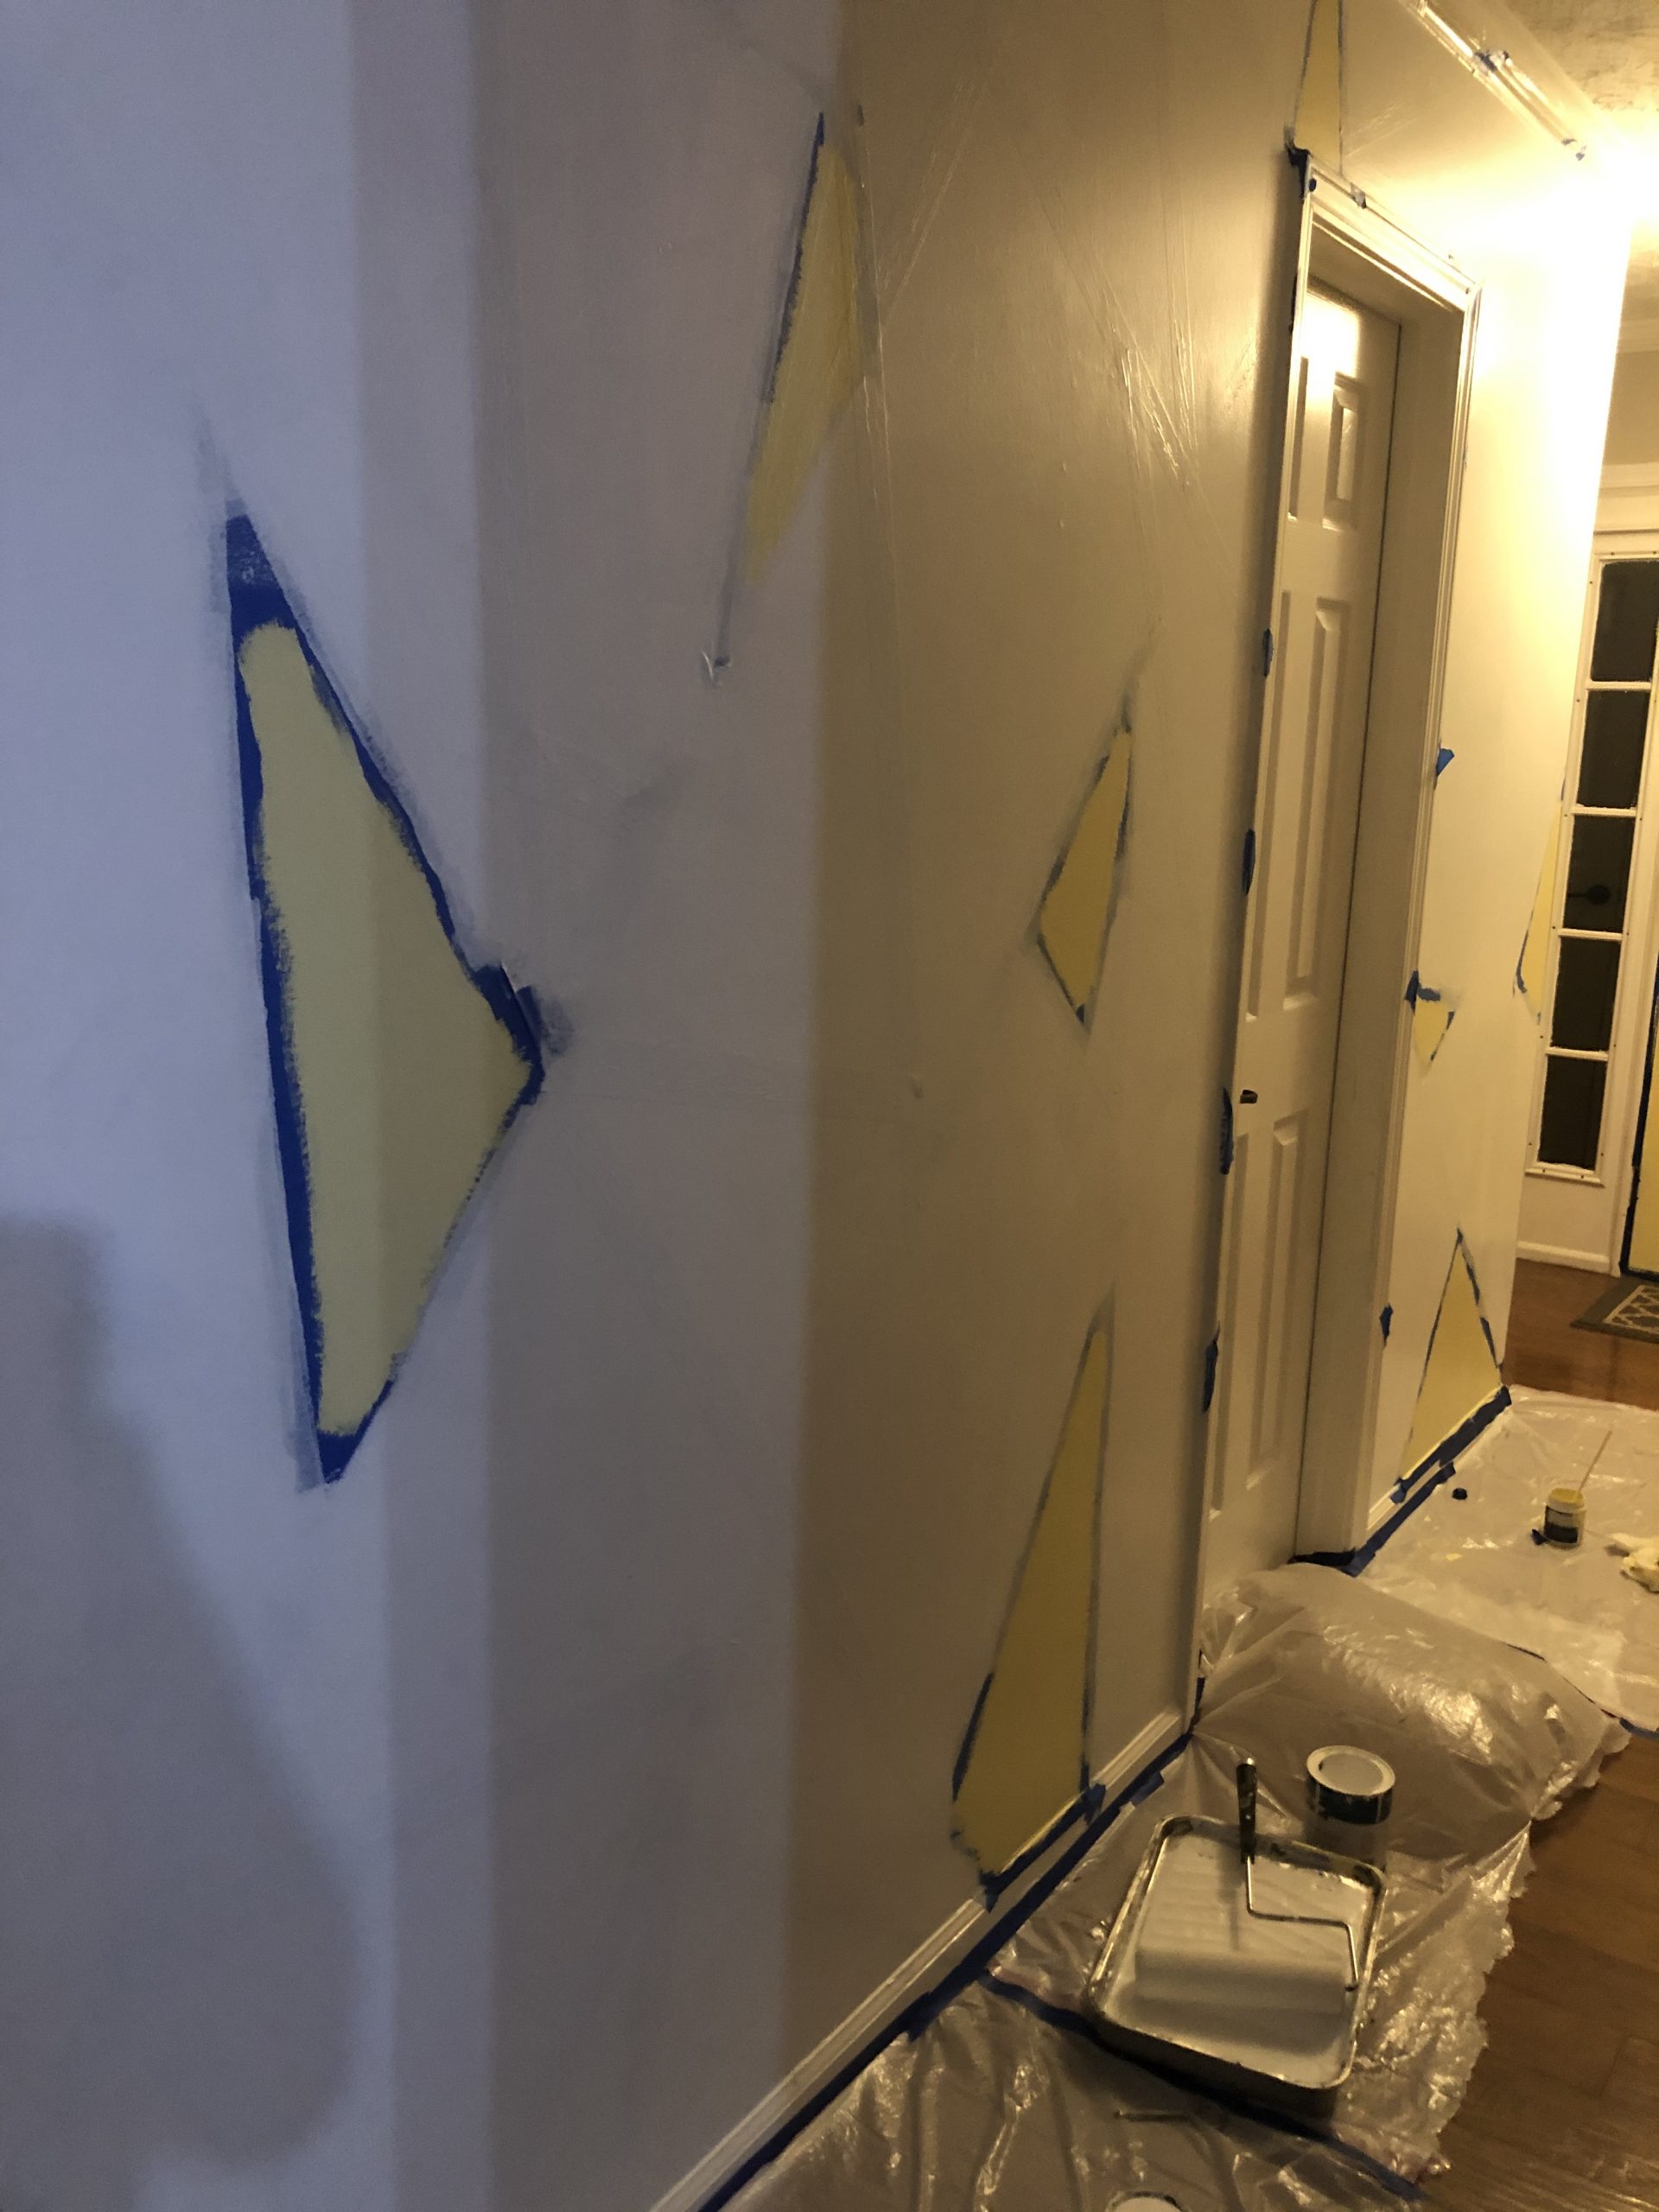
Once I created my grid on the wall, I stepped back to take it all in, and I decided to mark where I wanted my accent pieces. Instead of having a wall of entirely white shapes with greige lines dividing them, I wanted to throw in a few yellow accent shapes to really create interest. I used a pencil to “X” the shapes I wanted to avoid painting white. I taped down a drop cloth, and I was ready to get started!
Because I was painting over a darker (greige) color with a lighter color (white), it took about three coats to really get it looking right. I primarily used the roller to apply my white paint to the walls and used the paintbrush to fill in around the edges. Also, while I was in the middle of painting my yellow accents, I liked the color so much I decided to use it on the interior of my front door! So eventually I had to go to the store to buy more paint and have it matched.
But all’s well that ends well. I love the way that it turned out! It really makes what was an ordinary/boring hallway look more interesting and inviting.

A pretty wild first impression, right?
Keep in mind, my process wasn’t perfect. I made a lot of mistakes on the first wall that I had to go back and correct. But that made the second wall so much easier! Here are a few tips to keep in mind:
- Take care to really seal your painter’s tape. My lines weren’t as perfect as I had hoped because I had some bleeding. I smoothed the tape down with my hand as I applied it, but HGTV recommends firmly sliding a credit card across it to really make sure that it locks down to the wall. I’ve also heard people swear that the green painter’s tape seals much more effectively than the blue.
- Remove your tape before the paint dries! This is where I really went wrong. There were warnings about this all over Pinterest, but I didn’t take them seriously enough and I allowed my paint to dry. When I removed my tape, many of my grid lines and shapes were pulled up with it. I had so many spots on that first wall that were damaged, I briefly considered scrapping the entire project and just painting it back the way it was. In the end, I used a straight-edge blade to cut away the damaged pieces and used white touch-up paint to fix the details of my design. It was a learning process!
- Allow yourself more time (and more paint) than you think you’ll need. I have painted walls over and over again in the past, so I assumed that this would be simple and quick. However, both taping the grid beforehand and painting around the accent pieces at the end takes quite a bit of extra time. Many of us also tend to use more paint than we think we’ll need. Save yourself a trip and buy the extra in advance! If it’s a standard/non-custom color, it can probably be returned if you don’t use it.
The biggest tip is to avoid sweating the small stuff. When I pulled the tape off the first wall and felt like I had ruined it, I sent a picture of it to some friends to ask for their advice. They all ooohed and ahhhed over it, and they encouraged me to fix the bad spots instead of starting all over. They reminded me that when people walk through my front door, they’ll be so wowed with the design that they’ll miss those little glitches in the pattern that bother me so much. We are always our own worst critics.
Here’s the before and after: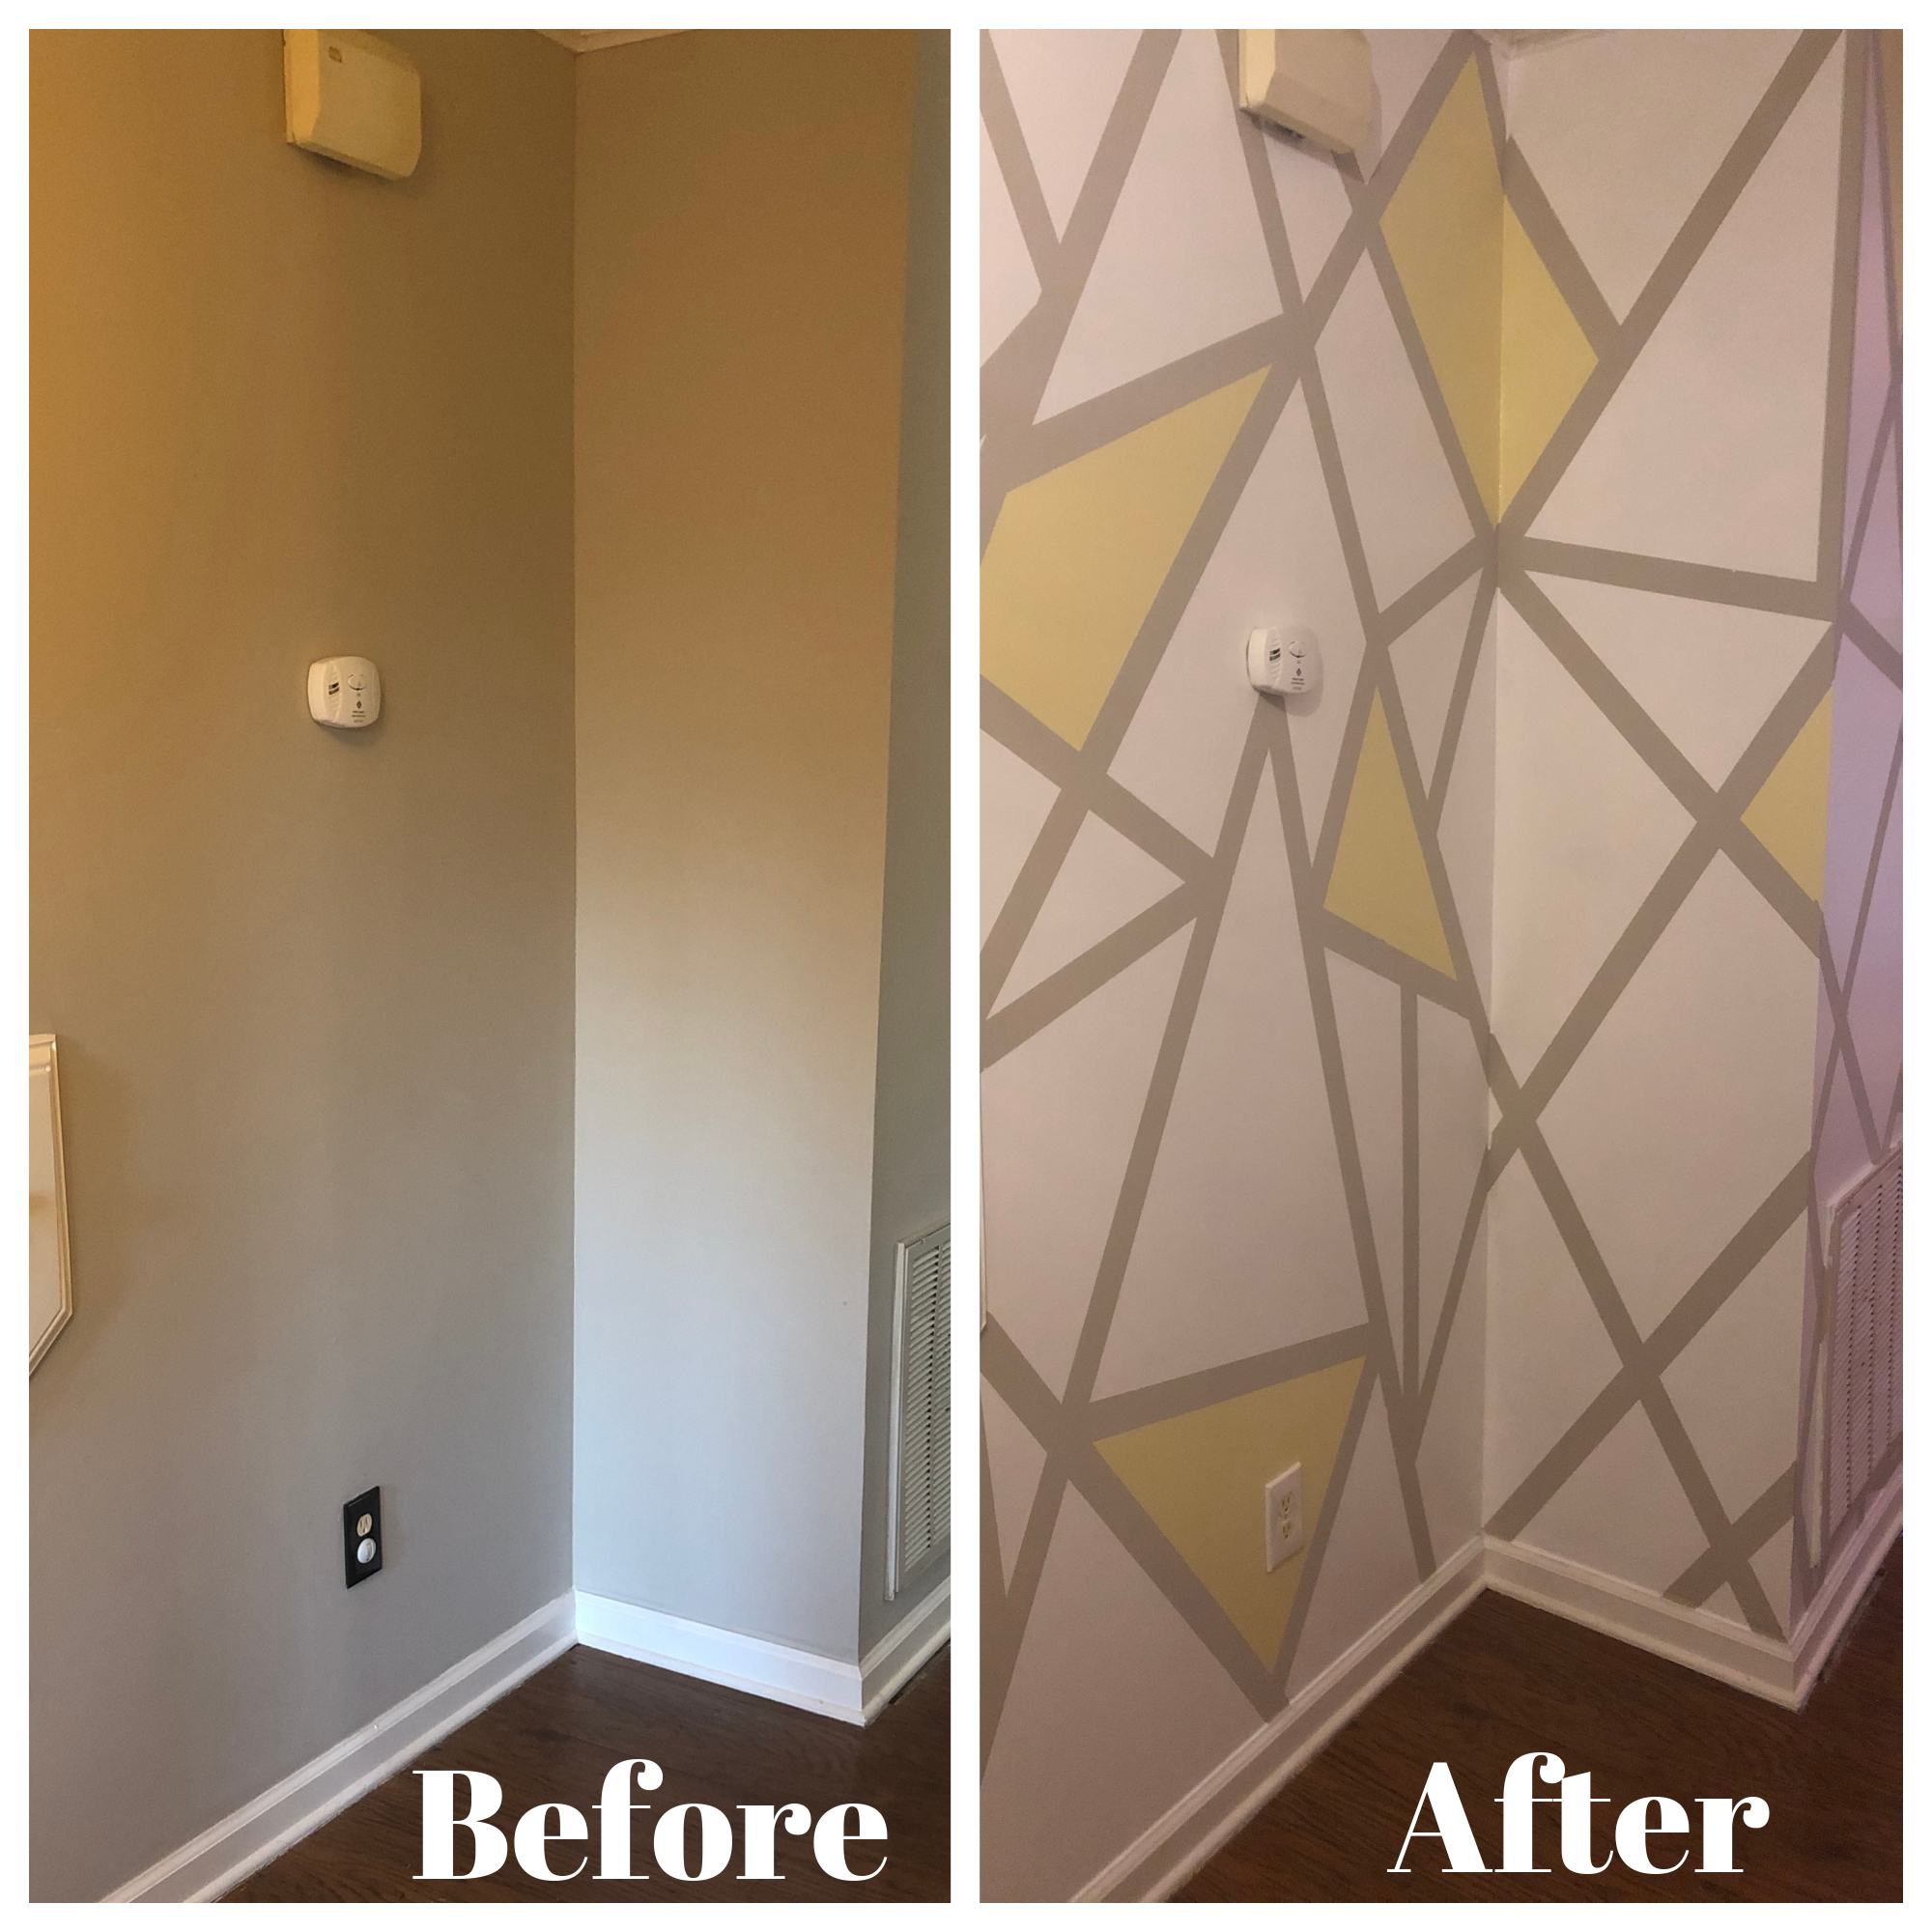
 W
W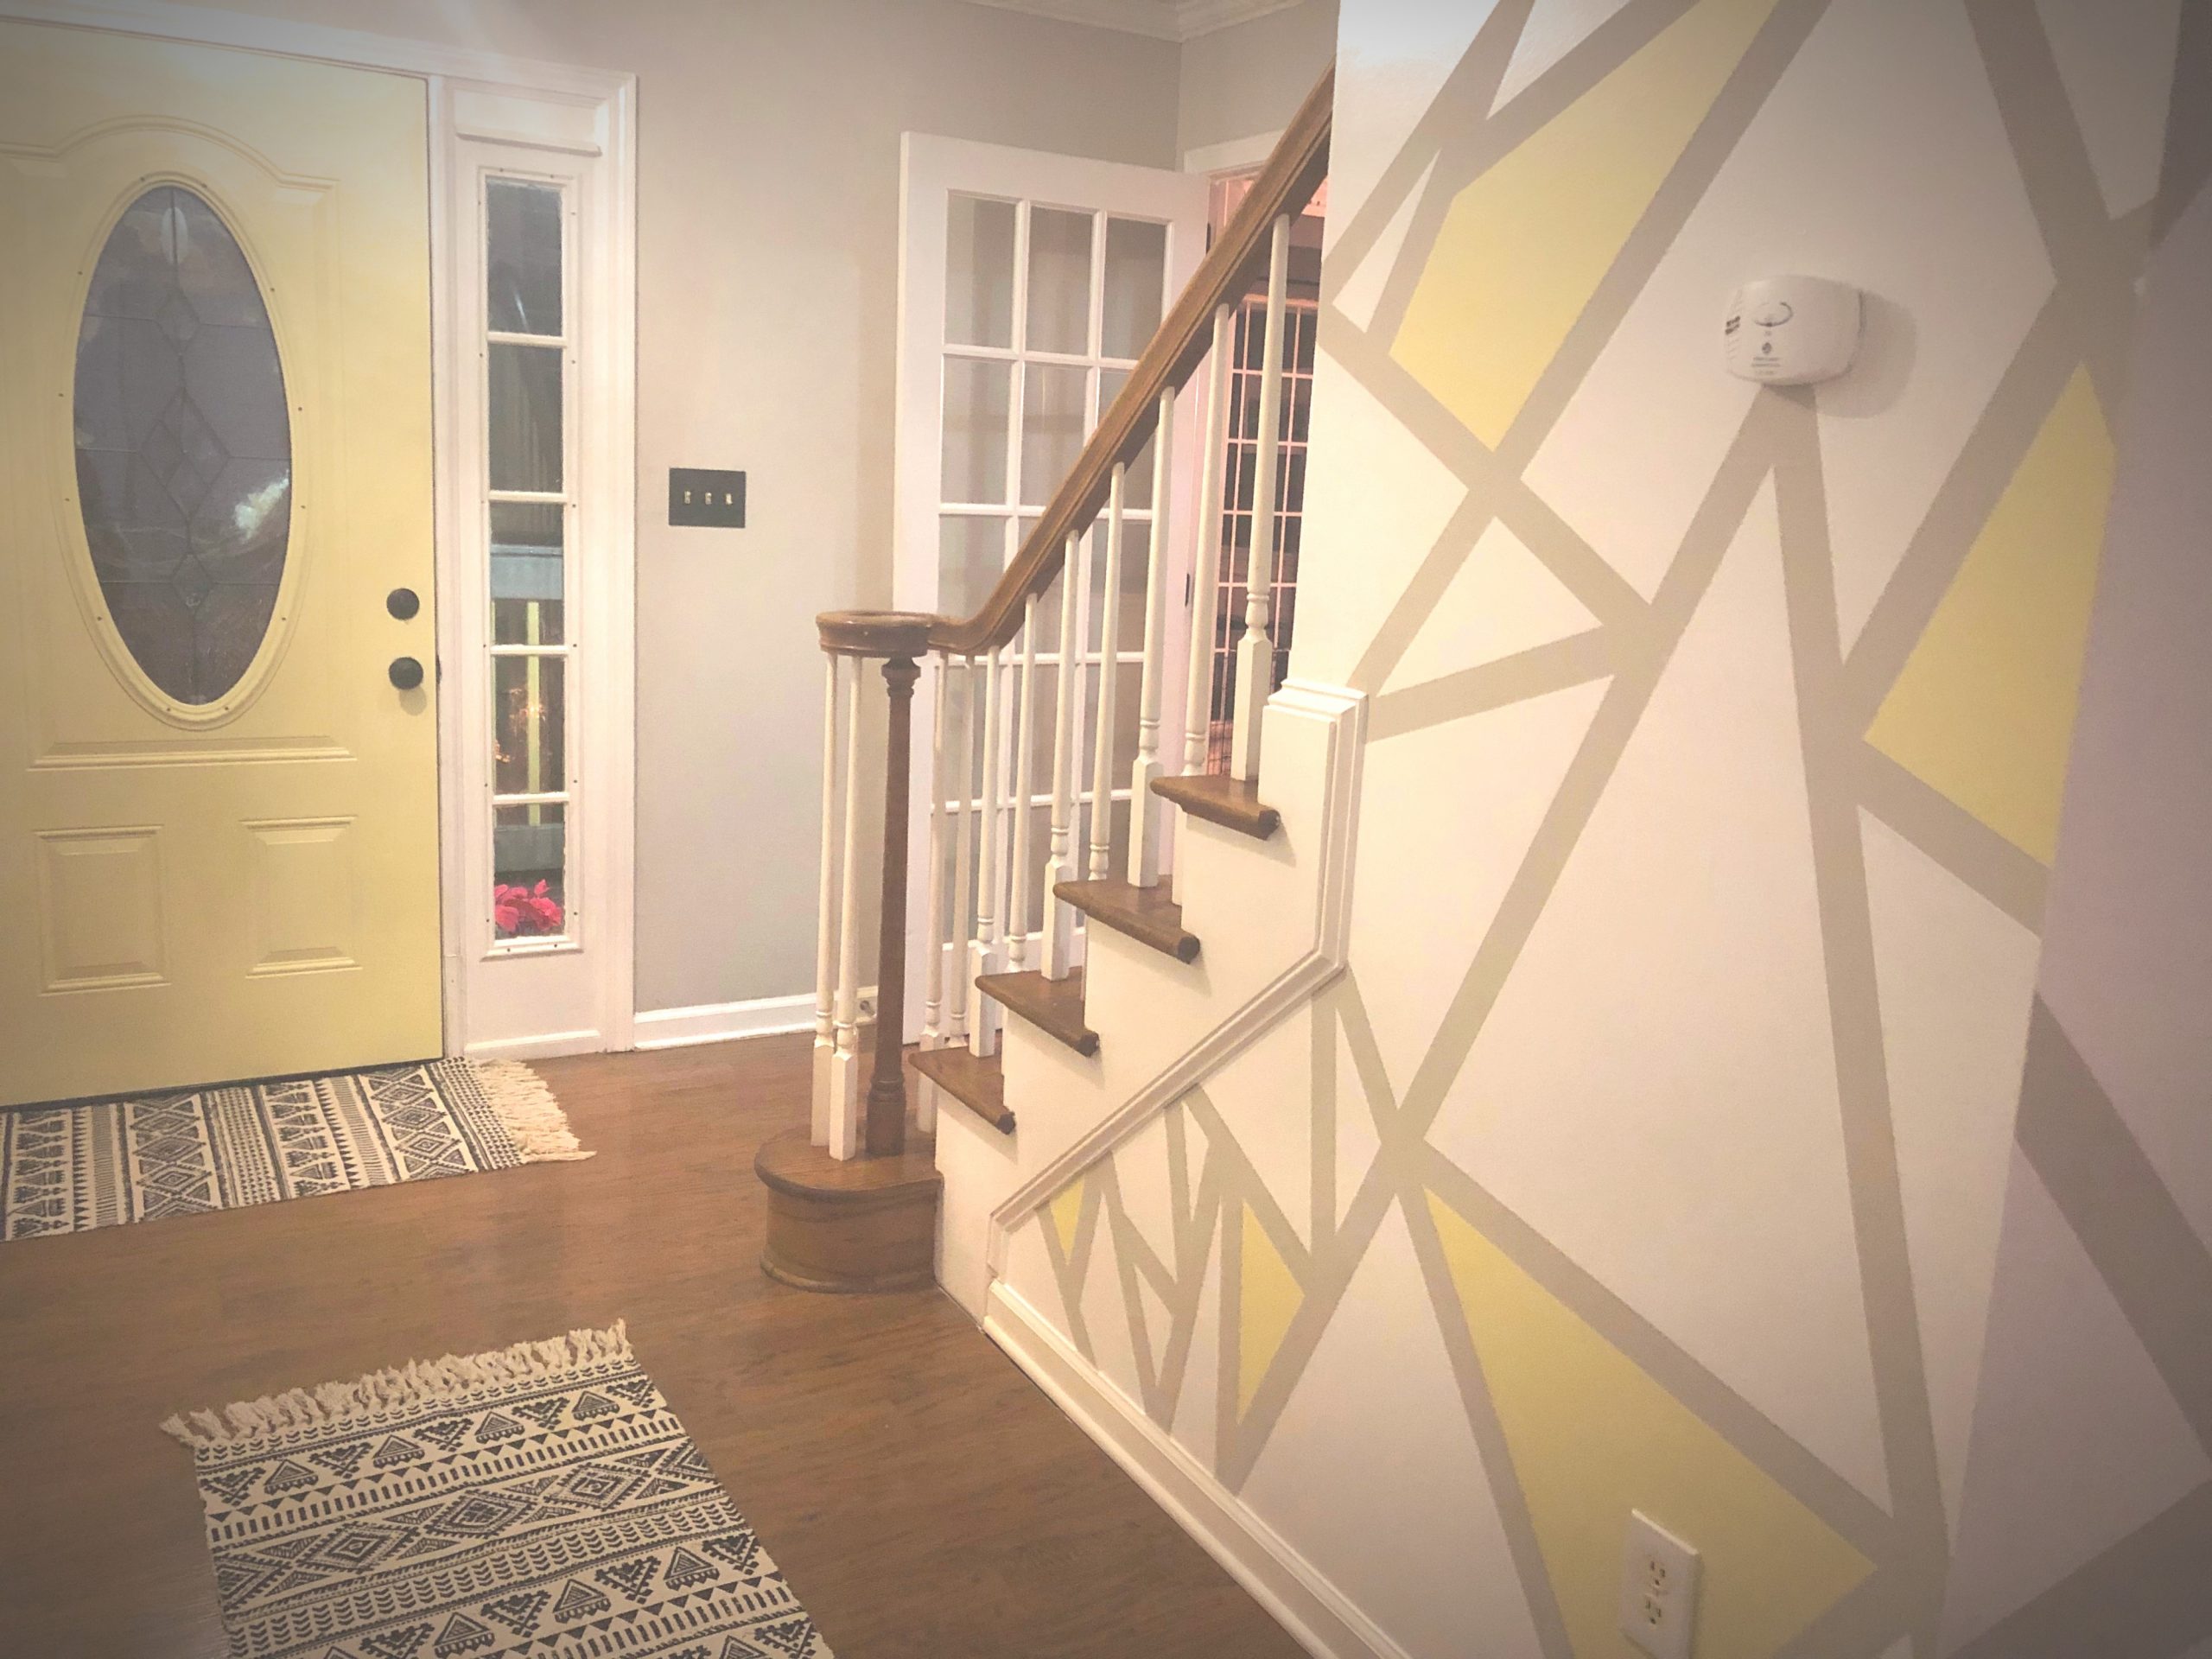


