


 Who doesn’t like DIY? I mean, most of us have gone from spending weekends out with friends in our 20s to roaming Lowe’s or Home Depot with our husband in our 30s and 40s. For a lot of us, home projects are not just on our “To Do” list, they are also a hobby. I know this is true for me. I want to really love my home. I want it to feel like our haven when we all settle in for the evening or the occasional rainy weekend with nothing planned.
Aside from this new home, we have DIY-ed five other houses in the last 15 years. You could say we’ve become pretty good at making things look great on a budget. I’d like to share some of the things I have learned in all this time:
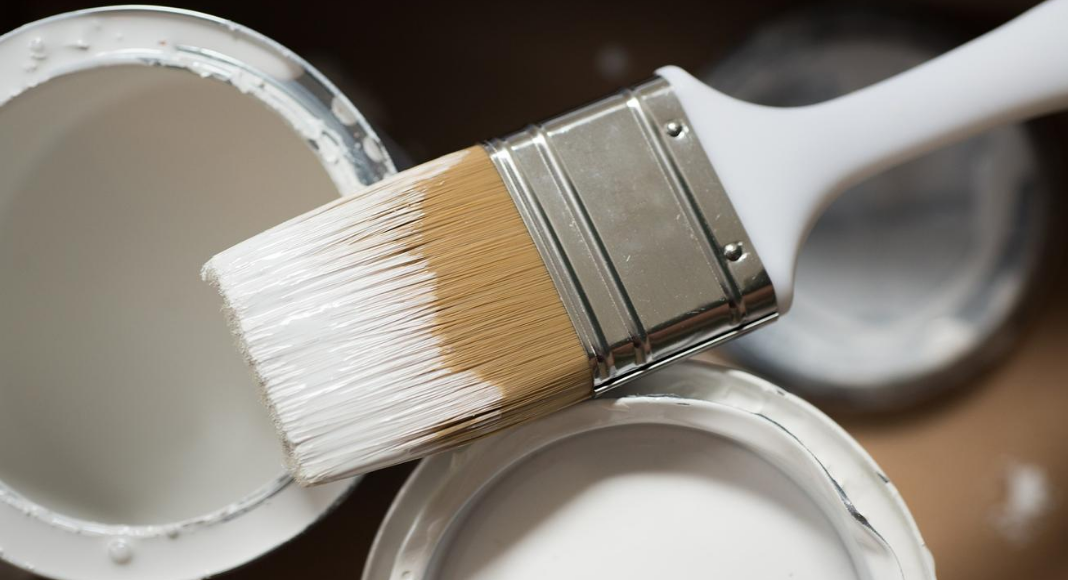
First Step: Paint!
- Although paint isn’t horribly expensive, it’s still great to be sure you will love the color(s) you choose and not waste money on a “meh” color. I collect color swatches and hang them in several different rooms for about two weeks prior to painting. Each time I walk by, I add a tick mark to whichever I like best in that lighting. My family does the same. At the end, the one we liked the most, wins and becomes our wall color.
- If you are getting ready to paint an entire house or several rooms, borrow or buy a painter’s ladder. This ladder has a platform at the perfect height to stand and reach to the ceiling. It also has a ledge to hold your paint bucket. Later, it can be used for cleaning the tops of cabinets or closets, even hanging Christmas lights.
- Have plastic cups and baby wipes on hand. You can use a plastic cup to hold little bits of paint for trimming etc. and then just throw it away when done and you’ve saved clean up time, plus it’s cheaper than buying the “actual” painting cups and liners. The baby wipes are perfect for wiping up little mistakes as you go.
- If you have carpet, use a drop cloth. One drip of paint and you’ll be sorry. Meanwhile, if you have hard floors, you can use the drop cloths to cover furniture and just wipe up drips on the floor with a baby wipe. My kids used to LOVE this job when they were little.
- Buy good paint. Paint is one of the easiest ways to make a space feel like yours. I know standing in a store and looking at a $20 gallon sitting next to a $40 gallon makes it really hard to choose the latter, but good paint is WORTH IT. It will cover better, which saves both your time and money.
- Skip the painter’s tape. Lining all your trim and windows with painter’s tape seems like it’ll save you time and make painting easier, but it won’t. Get a good trim brush (I love the short handled 2” slanted ones) and practice trimming a straight line with it. You’ll be surprised how fast you can get good at running perfect lines along the floor, ceiling and windows. You can trim an entire room so quickly without taping, painting, removing the tape and fixing where it leaked anyway! Also, a razor knife will remove paint from window panes, so don’t worry if you get it on the window here and there.
- Paint all your trim first and don’t fret if you get it on the walls. Use a piece of cardboard if you aren’t comfortable with being near the ceiling or floor. Then go back and trim around all your molding with your wall color. Finish with a roller and voilà: you have a painted room.
- It may be tempting to just “trim” around them, but take the time to remove light switch and outlet covers and paint right up to the switch or outlet. It will look much better in the end! Keep them all together in a plastic baggie. This is a perfect “little helper” job too.
- Never underestimate the usefulness of spray paint. Spray paint is pretty durable, so it works great on things that get banged around, like a bench in a mud room. It covers quickly too. Again, buy the good stuff. When you are spraying, remember that 2-3 good coats will look so much better than one thick, runny coat. There are so many great spray paints to choose from now too. You can buy some for high heat (revamping a grill, perhaps?); you can get spray paint for sinks and bathtubs (also works on ugly bathroom wall tiles); and you can use automotive primer spray paint plus the spray paint of your choice to change outdated sink or bathroom faucets and even door hardware.
- If you have not run across the press and seal saran wrap, let me tell you, you are missing out. This stuff is perfect for painting! It’s great for spray painting especially. You can press it along the wall or door or counter where you want to protect and finish out with painter’s tape, then spray a faucet or door hinge without worrying about overspray.
I hope these tips help you on your painting journey. Best of luck and may your colors always be the perfect ones for your home!


