


 My husband and I bought our house sight unseen in February of 2016. We lived in California at the time and had a quick opportunity to move back home to Knoxville. I was almost 30 weeks pregnant with our first daughter when we made the cross-country move. We bought a house that seemed perfect for our small growing family. Little did we know, five months after our daughter was born, we would find out that we were pregnant again!
Our seemingly perfect first home soon became really small, really quickly.
By Christmas 2018, I almost went into full panic attack mode trying to decide where everything was going to go and how to organize it all. At this point I had given our dining room set to a family member because I needed that space to be a playroom. I had tried a few things in that area, but no matter how many times I cleaned it up or went through things, it was never a space that seemed organized or appealing for my girls to play in.

As this past Christmas approached, I knew I had to get something in order for my playroom before we were bombarded with new toys and gifts again. I had seen an amazing playroom transformation on Instagram and decided I was going to bite the bullet and finally get my own in order.
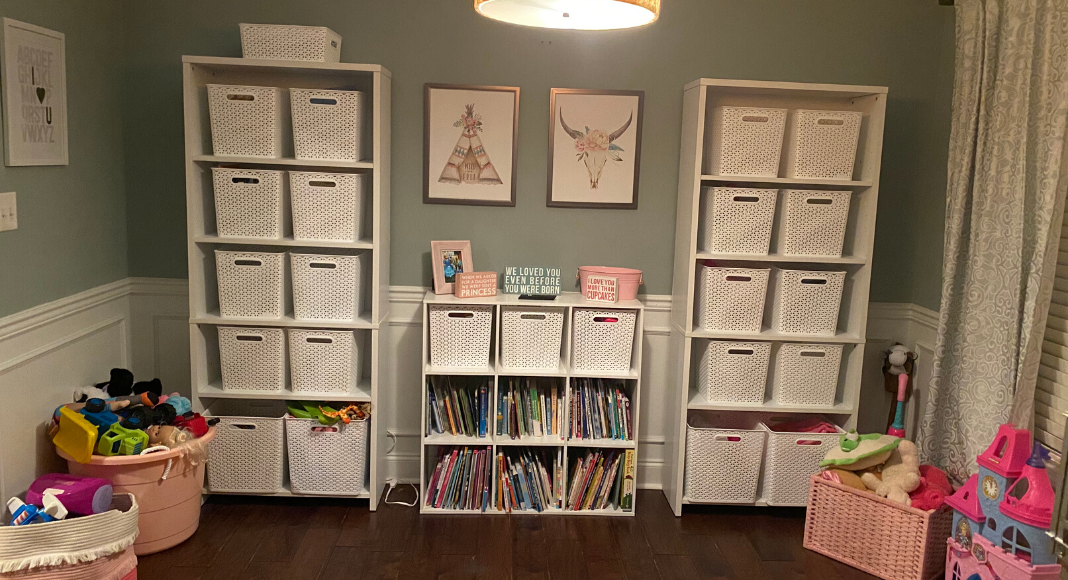
I knew I wanted to go with more neutral colors because I wanted the space to feel light and clean. The original inspiration had white bookshelves and Ikea storage bins, but since I don’t live near an Ikea, it wasn’t worth the cost of shipping. Instead, I found these bookshelves at Walmart. There were some cheaper options, but I wanted them wide enough for my bins. My girls loved helping us put them together and we told them it was to help keep their “new playroom” clean. I think it’s important to have them help in projects like this so they can see the value in it and feel like they are part of the solution.

I also decided on these great plastic basket bins from Target! I choose the 11-inch baskets on first four shelves and opted for the 13-inch ones on the bottom for bigger toy items. The baskets are so reasonably priced and great quality! They are light weight so my girls can pick which bin they want and easily pick them up to put them away. To make it even better, I shopped online for all of this and had it all delivered for free straight to my door!
Once I (well, my husband) had all the shelves put together, I placed them where I wanted them in the room and started a category for each basket. For example, doll clothes, kitchen food, and puzzles were a few of the categories. As I picked up and sorted through all the toys, it was easy for me to separate them into their specific baskets. I was amazed how everything finally had a spot and there were still extra bins to grow into!
I used extra wall decorations from their nurseries to hang on the walls and even had an extra cube shelf that I used in the middle of the bookshelves for their books and extra bins.


Overall, this project cost me less than $250. It was a much-needed transformation for us and has helped us so much. We have a rule that there cannot be more than two-three bins down at a time depending on what they are playing. The girls know they have to put one bin up and clean up before they can switch to something else! Of course it still gets messy, but instead of pushing everything to the side, things finally all have a home! My final step is to add labels to make it a little more visual for them, too!


