


 With Knox County Schools out last week for illness, I got an extra day off with my girl. In order to keep her busy we did some fun, easy crafts. She wanted to make a Valentine’s Day card for her teacher and I wanted to do something that I already had all the supplies for. She also wanted something that would really impress, so we went with paper quilling.
This craft is so easy and she was able to do most of it on her own. Bonus: you probably have most of the supplies on hand, so it can be an impromptu craft whenever you have an extra 30-60 minutes. I don’t know about your kids, but my kid thinks I am the best mom ever when I do crafts with her, so I am always looking for easy, not messy crafts. She is so proud to give this to her teacher, too. She ended up making a second one to give to her grandparents for their anniversary. They loved it and thought it was gorgeous!

You can go really fancy and get quilling kits or special thin quilling paper, but we didn’t want to go to the store and really just didn’t want to make this too fussy. I like when we find crafts that she can make on her own, and are ones that build skills and confidence. I do not need them to turn out perfectly. Our heart ended up getting a little stretched at the end as she tried to stuff all her paper rolls in, and that is fine with me. Let me know in the comments if you try this craft out!
Here what you’ll need:
Supplies:
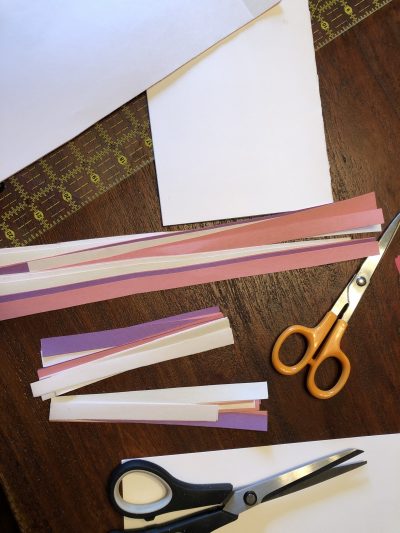
- Paper: we used construction and printer paper in pink, purple, white, red, and glittery colors
- Card stock
- Glue
- Scotch tape
- Scissors
- Tiny paintbrush or toothpicks
Directions:
- Cut paper into thin strips. You can do whatever size you want your rolled paper to be. We used ½ inch wide and about 6 inches long. You also need to cut two bigger strips to make the outline of your heart. We cut ours into ½ inch wide by 9 ¾ inches long. If your kids are also Harry Potter fans you know we chose this because we always like to add magic to our day; this got us talking all about our favorite parts of the Harry Potter book while we rolled our strips of paper.
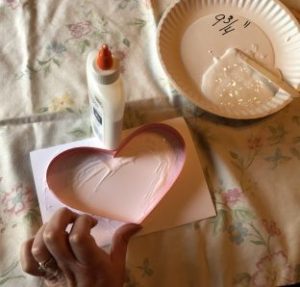
- Fold your card stock into the shape and size you want your card to be. Then put glue on the front into the size you want your heart. Let this dry for a few minutes so it will be tacky. This makes it easier to get the paper strips to stay.
- Put a little glue on the edge of the bigger strips of paper and place them on the card in the heart shape. Use a little piece of tape to hold the ends together. This is the trickiest part of the craft, so plan to help your kids with this step. Set aside and allow to dry while you roll your paper strips.
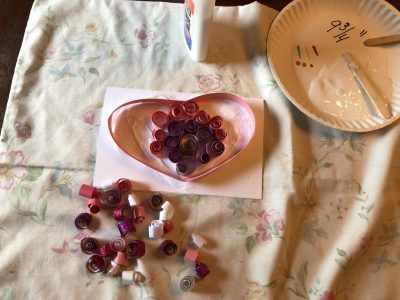
- Using the end of the paintbrush or a toothpick, roll your paper strips. We rolled about 75 and used most of them for one heart. I find this relaxing and a great time to have deep conversations with your kids! I used the toothpick, but she found the paint brush easier to hold on to.

- Using the craft stick, spread some glue inside the heart frame you made earlier. Allow to dry for a few minutes until it is tacky.
- Take each rolled paper strip and dip in glue, then place inside the heart frame. My daughter did an easy pattern, but you can just let them do it randomly and it will still look great!
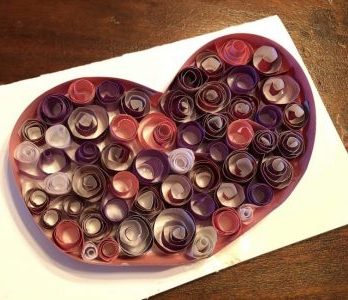
Here is her first finished heart. She was super pleased with it and so proud of herself, and is so excited to take it to her teacher for Valentine’s Day!


