


 I can hang a picture and do a preschool craft with the best of them, but tackling a DIY project? With a five-year-old and two-year-old at home, I don’t have the time, energy or skill. (I’m sure many of you are in the same boat!) A few weeks ago, my daughter Madeline asked once again about putting a sandbox under our playset’s clubhouse. It’s an idea my husband and I have been talking about for ages. It already has the sides and is shaded, but we could never figure out the best way to cover the sandbox. We didn’t want it to turn into the neighborhood cats’ favorite litter box (or any other wild animal for that matter). Something about Madeline’s sweet request and my enthusiasm for summer’s arrival made me decide “This is it!” even though my husband was in the middle of a crazy time at work. I would be on my own.
I don’t know how to use power tools, so I decided I needed to think outside the sandbox (haha)! I remembered a cool idea from the Dogwood Arts Home & Garden Show in Knoxville this spring. The children’s area had a huge sandbox, but it was filled with mulch instead of sand. There were logs and sticks for kids to use like blocks. Tree stumps were turned into stepping stones. It was teeming with kids! But it was on a huge scale, not for my small backyard DIY project. Like most of my ideas, I decided to take it, make it my own and, of course, look on Pinterest! An endless number of “sandbox alternatives” can be found there. I didn’t make a formal plan or even measure, for that matter. I loaded up the kids in our minivan and headed to Home Depot. I was armed with only a mental list of the basics: base, filler, fun play features.

Base
I already had the sides, so I needed to start at the bottom. I know a little about gardening and I wanted to keep the weeds and grass out. Enter landscape fabric. Easy to cut with house scissors and you need some giant staple-looking things to hold it down. Like my technical term? You’ll know what I’m talking about when you see it. (If you need sides, pressure-treated deck wood or cedar is the way to go depending on your budget.)
Filler
Instead of regular mulch, I decided to splurge on rubber mulch. It’s a lot longer lasting. It costs more up front but I’m hoping it will get us through at least two summers. (One rubber mulch bag cost just under $7.) I started with three bags and decided to go back later for a fourth. You could opt for rocks, especially if you’re going for a construction theme. I have a girl and a boy, so I was going for part fairy garden, part construction. They switch which one they like best on any given day.
Fun Play Features
Small and cheap. That was easy in the garden section. I let the kids pick out a couple of natural-looking concrete pavers, and we found a short section of wood garden edging for just a couple of bucks. We had plenty of old flower pots at home that I planned to use too.
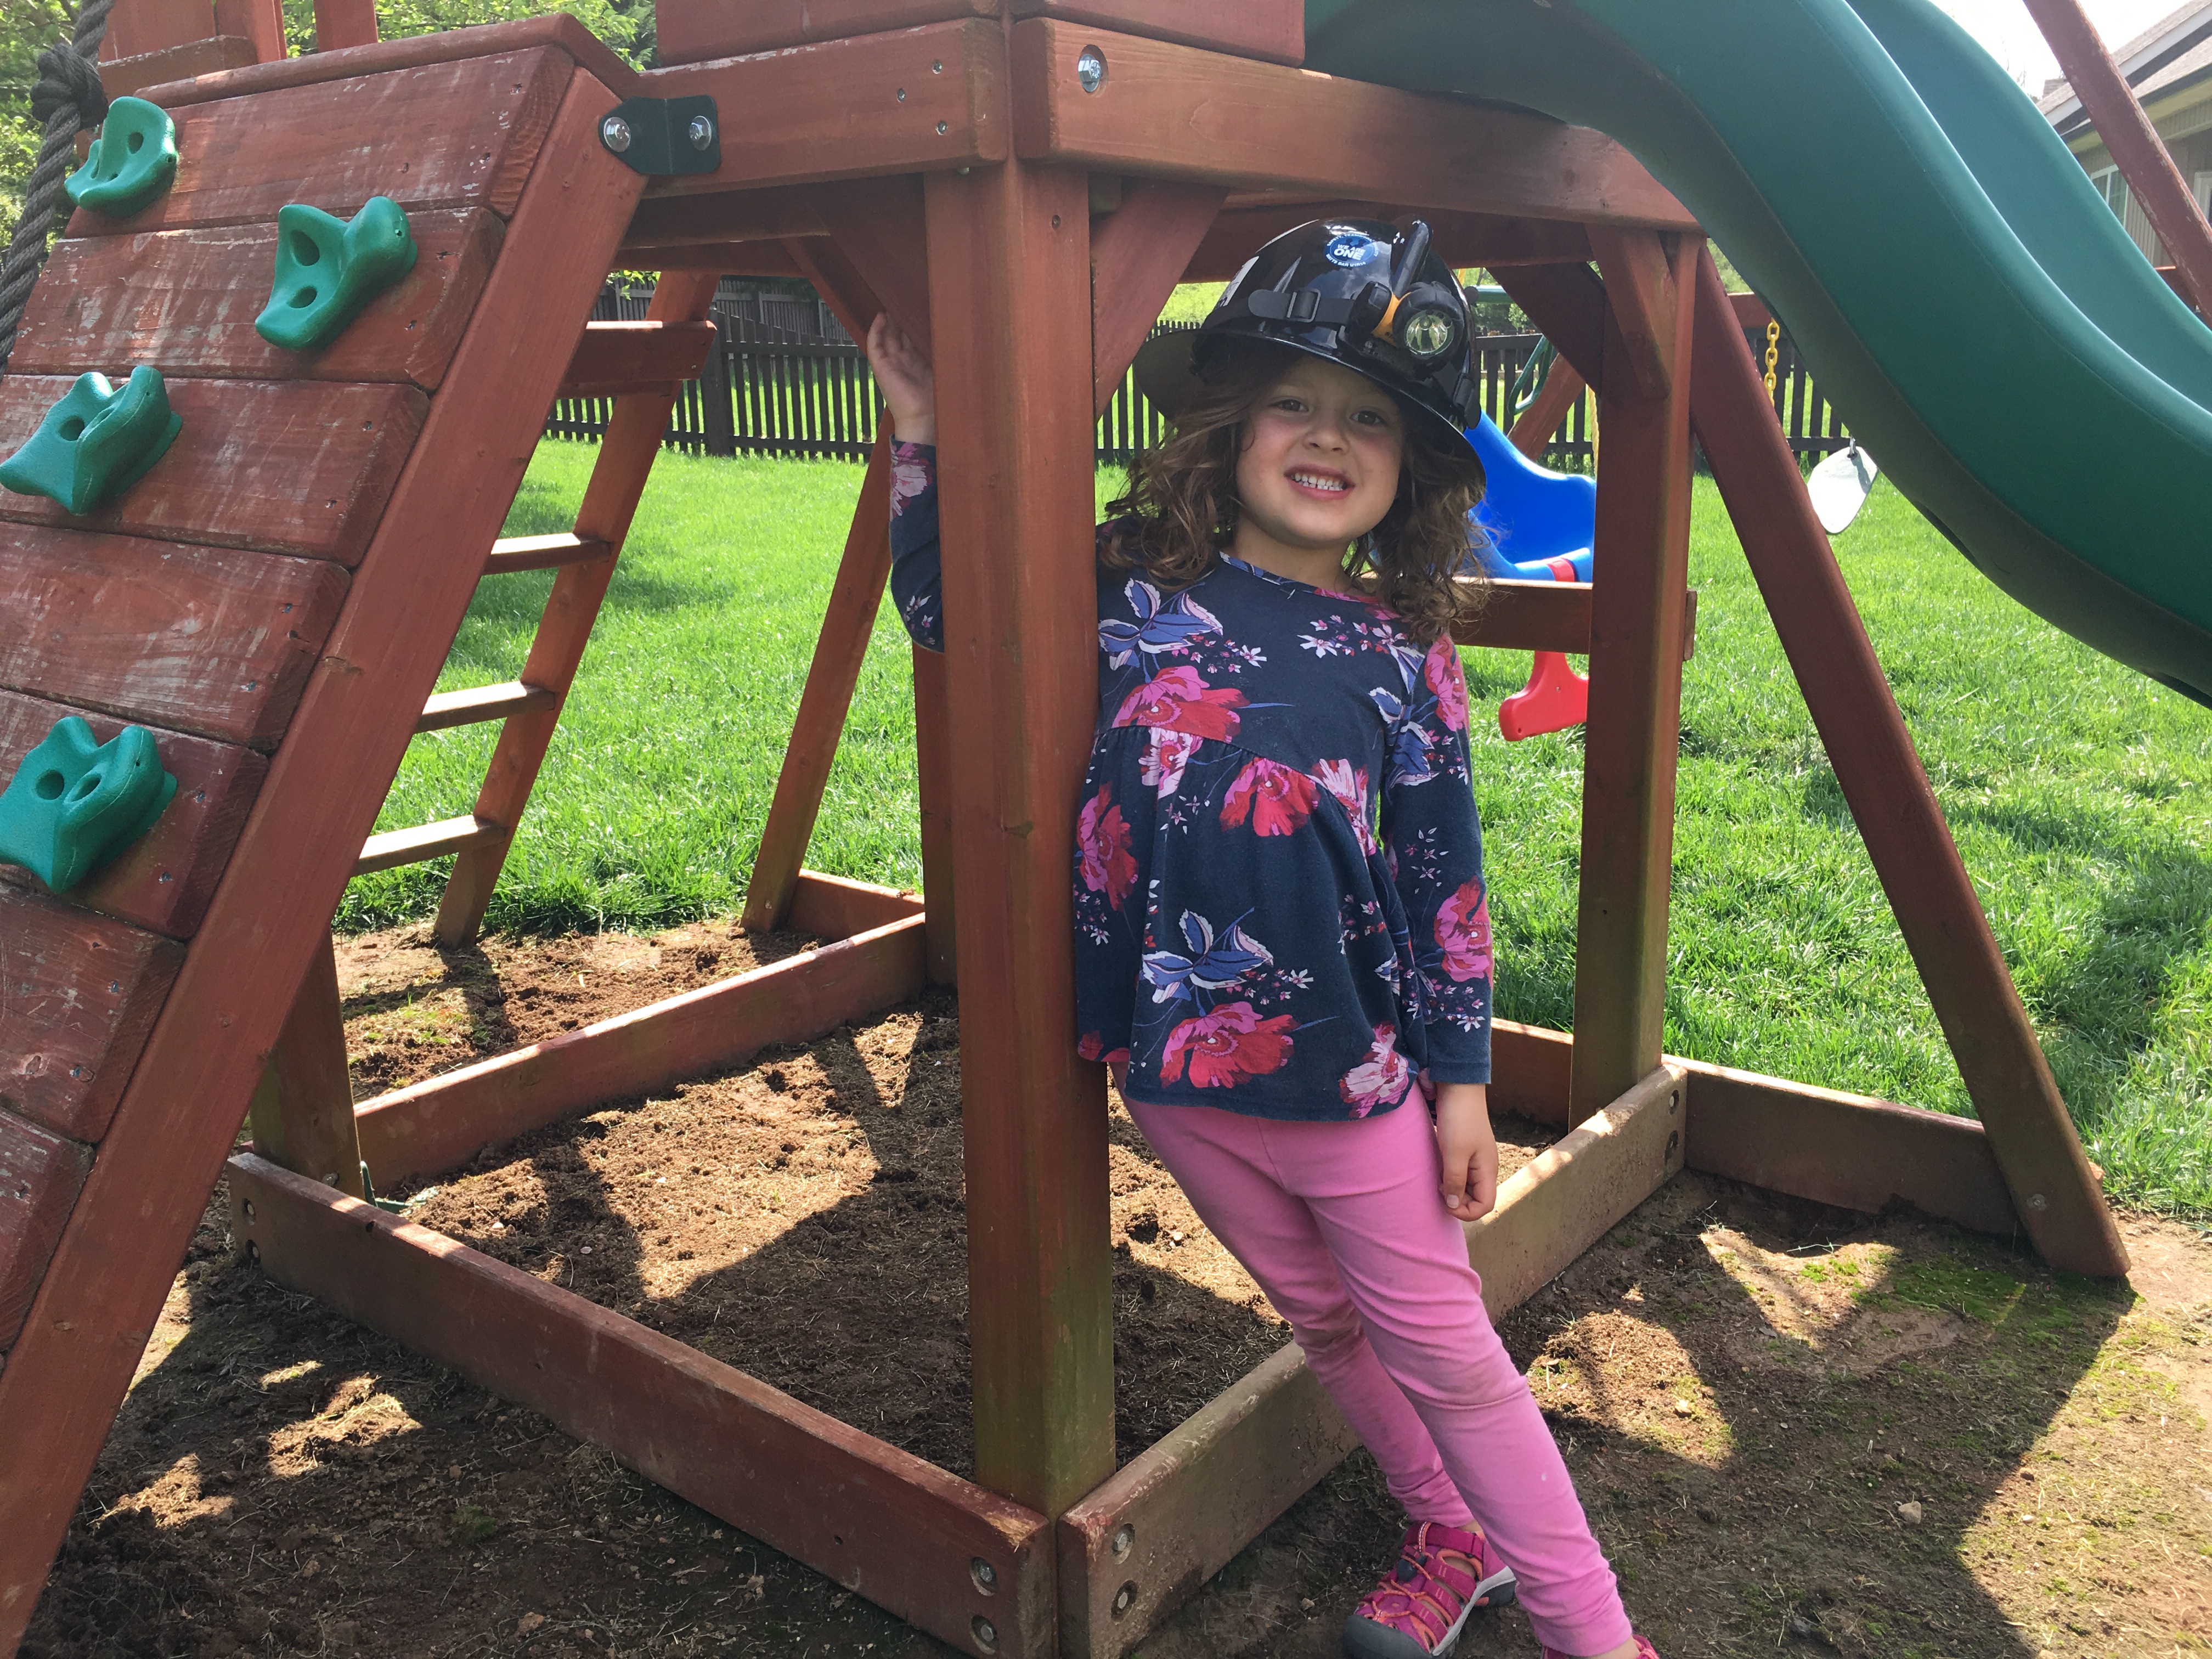
Back at home, it was time for little brother Bennett’s nap. Once he was asleep Madeline and I got to work. First, we pulled all the weeds and grass from the future site of our nature box. I grabbed our house scissors and we roughly cut enough landscape fabric to cover the dirt. With my husband’s hammer in hand we “nailed” those staple things into the ground to secure the landscape fabric. Then we started filling our nature box with the rubber mulch. Madeline decided on the best placement for our pavers and the wooden garden edging piece. She selected a flower pot she had painted at school to add to the mix. We also planted some flowering ground cover called candytuft outside the box to add a little color. (The candytuft was short-lived thanks to our puppy! Oh well!) Finally, we went around the house and gathered toys for our nature box. Construction vehicles and a bunch of plastic dinosaurs made the cut. I really wanted to have some kind of natural blocks like I saw at the Home & Garden Show. Then I remembered the table scatter I bought at Hobby Lobby for Bennett’s lumberjack birthday party. I had paid $2.99 for a packet of pine wood discs. I dug them out of my party box and, voilà, natural stacking blocks! There were way more than I remembered, too. Bonus!
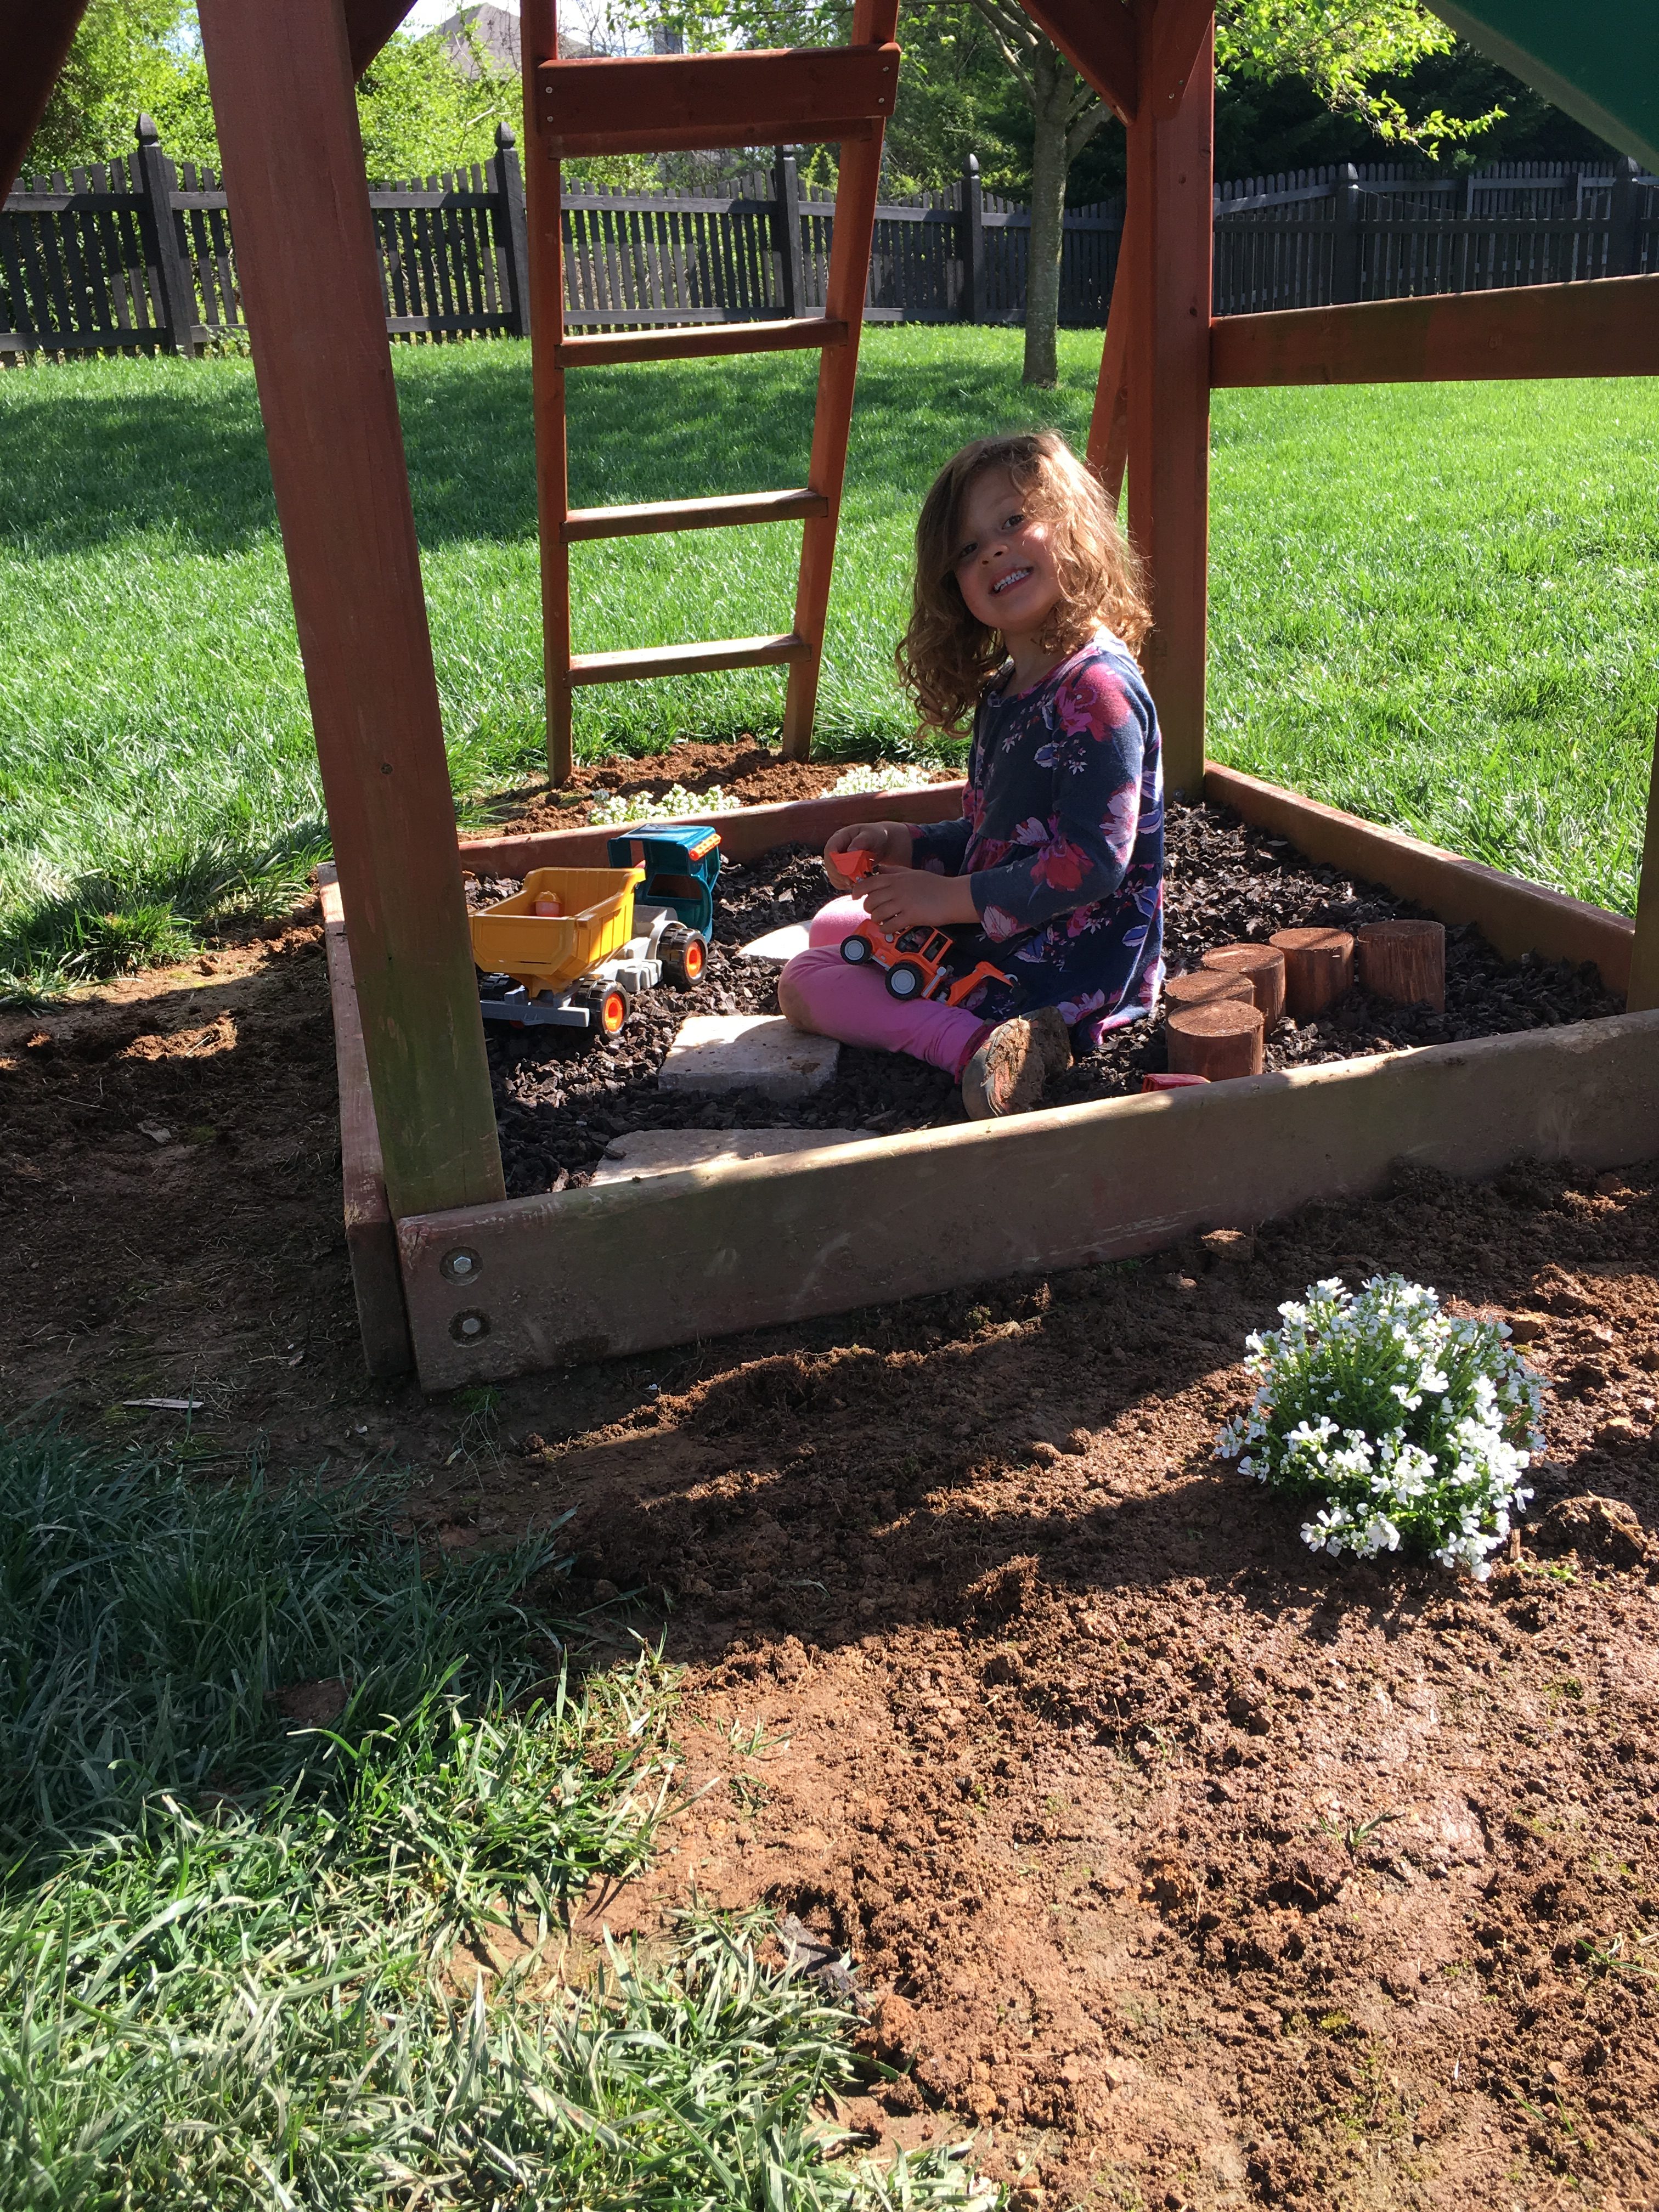
Madeline played happily and I even had time to enjoy an iced coffee before Bennett woke up from this nap. Our nature box has been a fun addition to our backyard this summer and a great backdrop for creative play. Now I’m ready for my next project!


