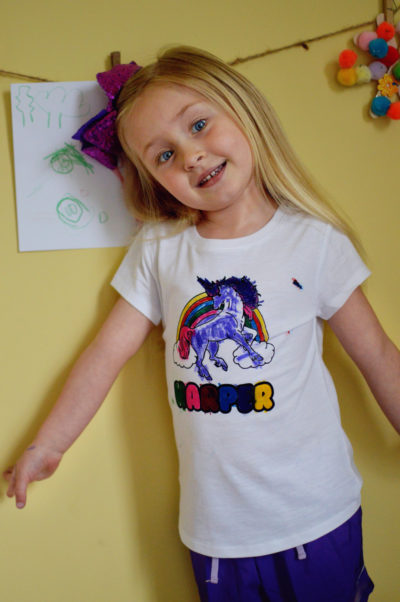
Today, I present to you the activity that keeps on giving. It’s fun, affordable, and can be used again and again. Suitable for all ages (I kinda want to make one!). The best part, though, is that your child gets to wear their art — how fun is that!?
What you’ll need:
A plain white t-shirt
Washable markers
Printer with black ink
White t-shirt transfers
Iron
Cardboard
I’m going to be honest with you; I didn’t use the t-shirt transfers this time because I have a Silhouette and a heat press, so I thought I’d make our shirt that way because I had everything I needed to do that. However, I think next time I will use the t-shirt transfers regardless. I think it would make the process a bit easier.
Step 1: Locate a free image on Google by searching “free coloring pages for kids.” My daughter asked for a unicorn, so that’s what we did. The options are truly endless.
Step 2: Print the image onto a t-shirt transfer and iron onto your shirt (following the instructions for your product of choice).
Step 3: Insert cardboard into the shirt to avoid bleeding. This also gives a solid surface for the kids to color on.
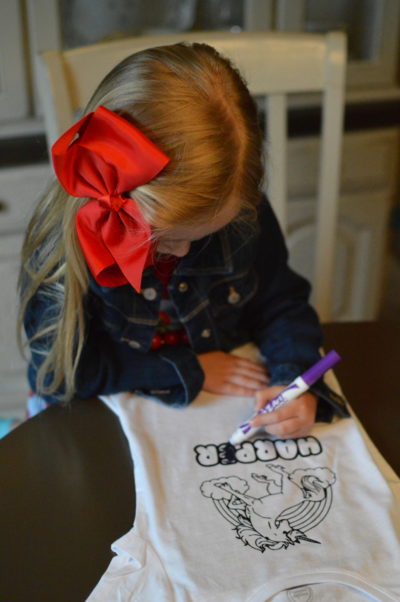
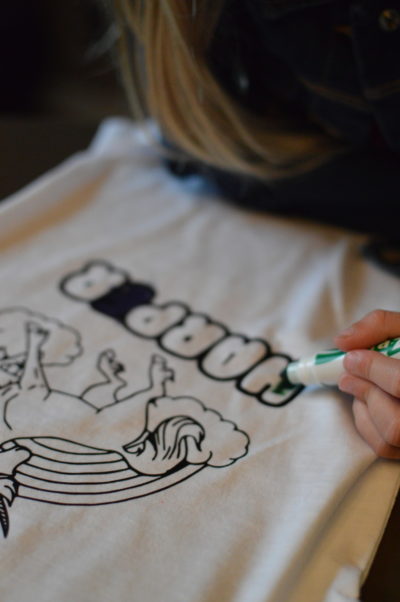
Step 4: Give your child the washable markers and let them go wild.
This was a lot of fun for both of us; I even helped with the rainbow! These shirts would make a great gift for birthdays and holidays (hint: Easter is in fewer than two weeks and this is a perfect non-candy basket stuffer!), as well as a craft to do at family gatherings to keep kids busy. It turns out, you can even skip all of the DIY steps and order the shirts on Etsy, if you aren’t the crafty type.
A great thing about this particular activity, as I told my daughter, is that if you mess up, it’s no big deal! You can wash it and do it again. If you have a better idea, no big deal! You can do it again! Not to mention, coloring inside the lines is exercising their fine motor skills.
Spoiler alert: if you invite us to a birthday party, just know that your child is getting one of these. I think they’re too fun not to share!


