Today I am sharing with you some fun, yet budget-friendly décor for your child’s room. When I say “budget friendly,” some of these projects were even free…yes folks, I said FREE!
I’m going to show you some gallery wall ideas from my daughter’s room and also my son’s room. Lets get started!
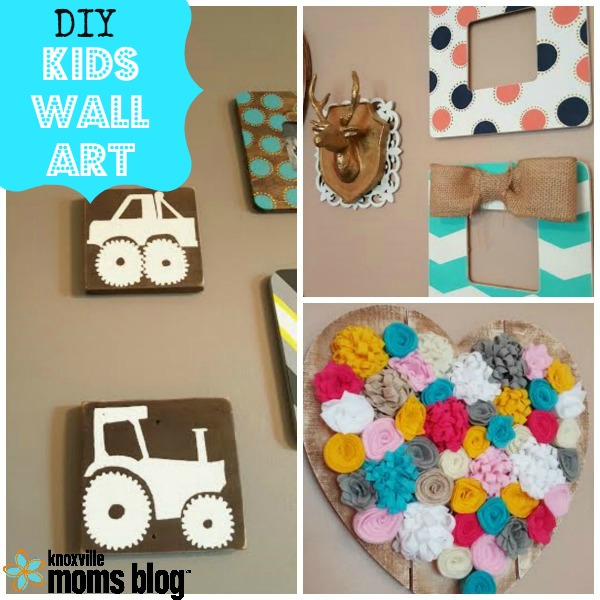
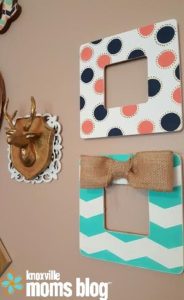
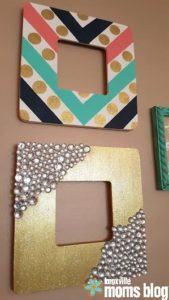
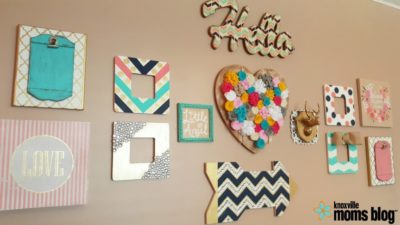
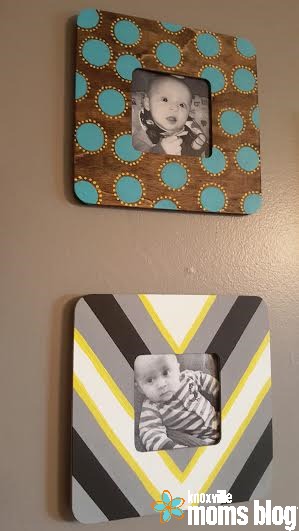
Here is the first easy and cheap project…frames. Guys, these frames are only $1 from Michael’s! They are wood and come unfinished. All you need is some paint and creativity…my favorite paint to use is from the Martha Stewart line (but these can be a bit pricey), so I tend to go to the FolkArt or Americana brand. They work great and a little goes a long way. These are also under $2 each, and a lot of the time, you can find them on sale at Michael’s or Hobby Lobby. You can add special embellishments, burlap bows, or whatever your little heart desires. You can also let your little ones make their own designs with paints (if you’re brave), stickers, or markers. These little frames are about 10×10, with a picture opening of about 4×4, making them the perfect size for all you Instagram obsessed people out there! You can also use 4×6 photos and cut them to size.
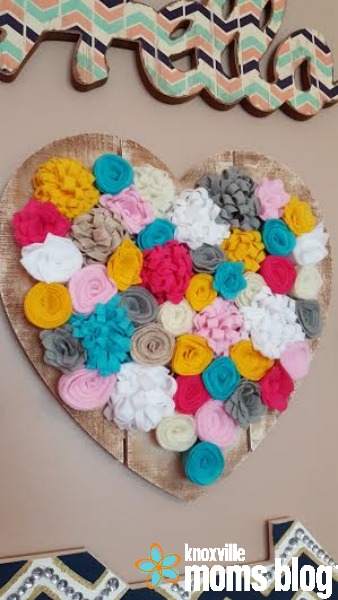
This is probably one of my favorite pieces in my little Stella’s room. I bought this plain, unfinished wood heart from Joann’s for $7 with a coupon and the felt, you can find anywhere. Felt is super cheap and comes in so many colors, so you can color-coordinate with the color scheme you are going for. I made it look “old” with some antiquing wax that I already had (find more info about it here). Then I took my felt colors of choice and made a bunch of different flowers. You may be wondering “how the heck to I make those??” These are easier than you think…check out these lovely tutorials showing you how to make different style here and here.
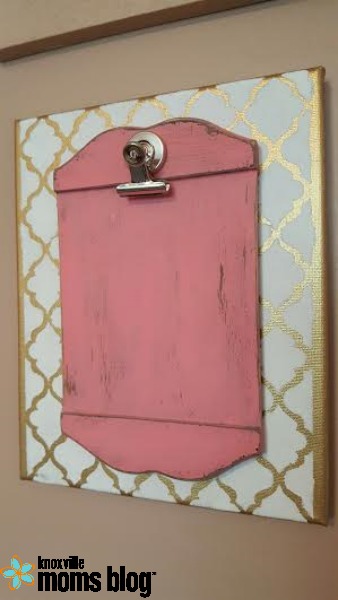
Here is another neat and cheap picture holder. All you need is a canvas, a piece of wood, and a metal clip. The wood I got from AC Moore for $1, and the clips come in a pack of four for I believe $3.99, but you can also use a clothes pin (you can find a big pack of them at the Dollar Tree). This is another project that you can go wild with ideas. I used a stencil I already had but you definitely don’t need one. You can also let your kids paint their own designs, and for the little ones, finger painting would be fun.
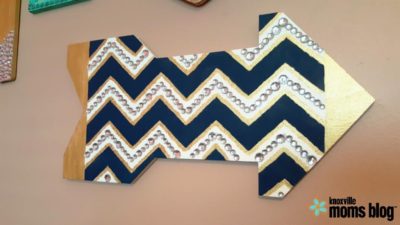
This arrow probably took the most time. It came in unfinished wood and I purchased at Hobby Lobby, once again with a fabulous coupon. I believe I paid a little over $6 for it. Again, I used a stencil for this one, but you can paint any design you please. Gluing on the rhinestones took the lonnngest time…but totally worth it. I love to use Crafter’s Pick “The Ultimate” glue for most of my projects. It dries clear and is water-resistant. I hung most of these with my favorite item of all time, Command Strips. These are the best thing ever invented!! (Cue the singing angels!)
Here is the finished project. A (mostly) DIY Gallery Wall that makes a big impact!
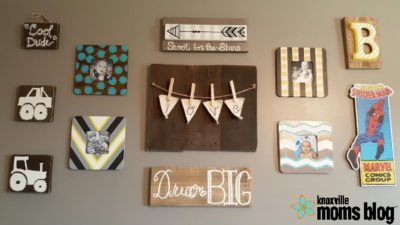
Now, let’s move on to the boy’s gallery wall. More thrify, and even some FREE projects!
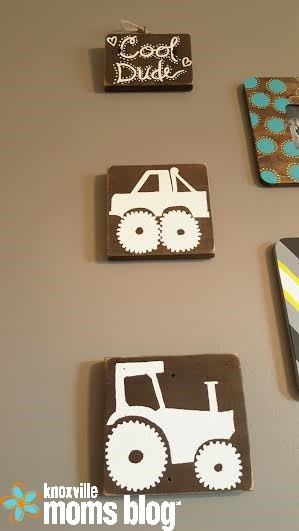
Everyone loves free, right? Well, the “Cool Dude” tractor and truck pieces were made from repurposed wood! I got them from pieces of our backyard fence (that is falling apart) and had my hubby cut them for me. I free handed the wording and for the tractor and truck images, I looked at some clip art online and drew my own similar image with a pencil. Then, I filled it in with acrylic paint. But be creative…you can find wood scraps just about anywhere. I always see wood in piles that people have thrown out, or cleaned out from their house, on the side of the road. If you’re feeling extra frisky, you can also go to construction sites and ask if you can have some wood scraps. But make sure to ask and not just assume you can have them.
Of course I had to include some square frames, they are just too cheap not to include. They also make a big impact and you can go crazy with the designs. I like to use painter’s tape to create smooth and precise lines.
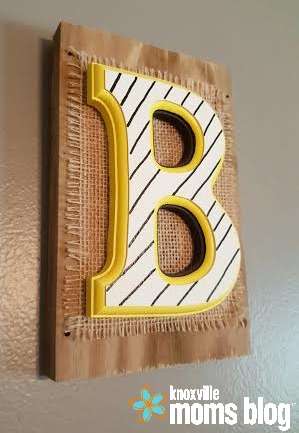
This “B” is so simple yet adorable. I am a burlap hoarder, and the wood was reclaimed as well, so all you will need to make your own is a letter of choice, which is another thing you can find anywhere, even Walmart. This project only cost me $4 to make. If you don’t have burlap, no biggie; you can use fabric scraps or nothing at all.
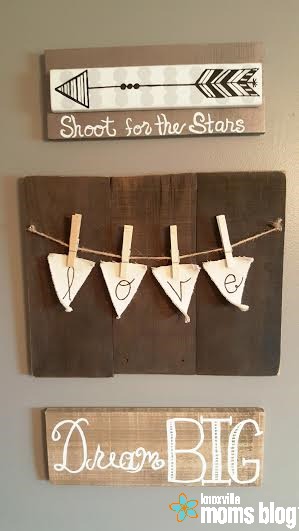
This section of my son’s gallery wall is the main focal point, and almost completely free. The only thing I had to purchase were the canvas flags. I already had the twine (Walmart sells a giant spool for cheap) and I also had a stash of clothes pins. This rustic art was all made from reclaimed wood!! Woohoo! You can hand paint anything you want: your favorite sayings or phrases, your child’s name, etc. The sky is the limit. You can also hang pictures from the clothes pins instead of the canvas flags.


